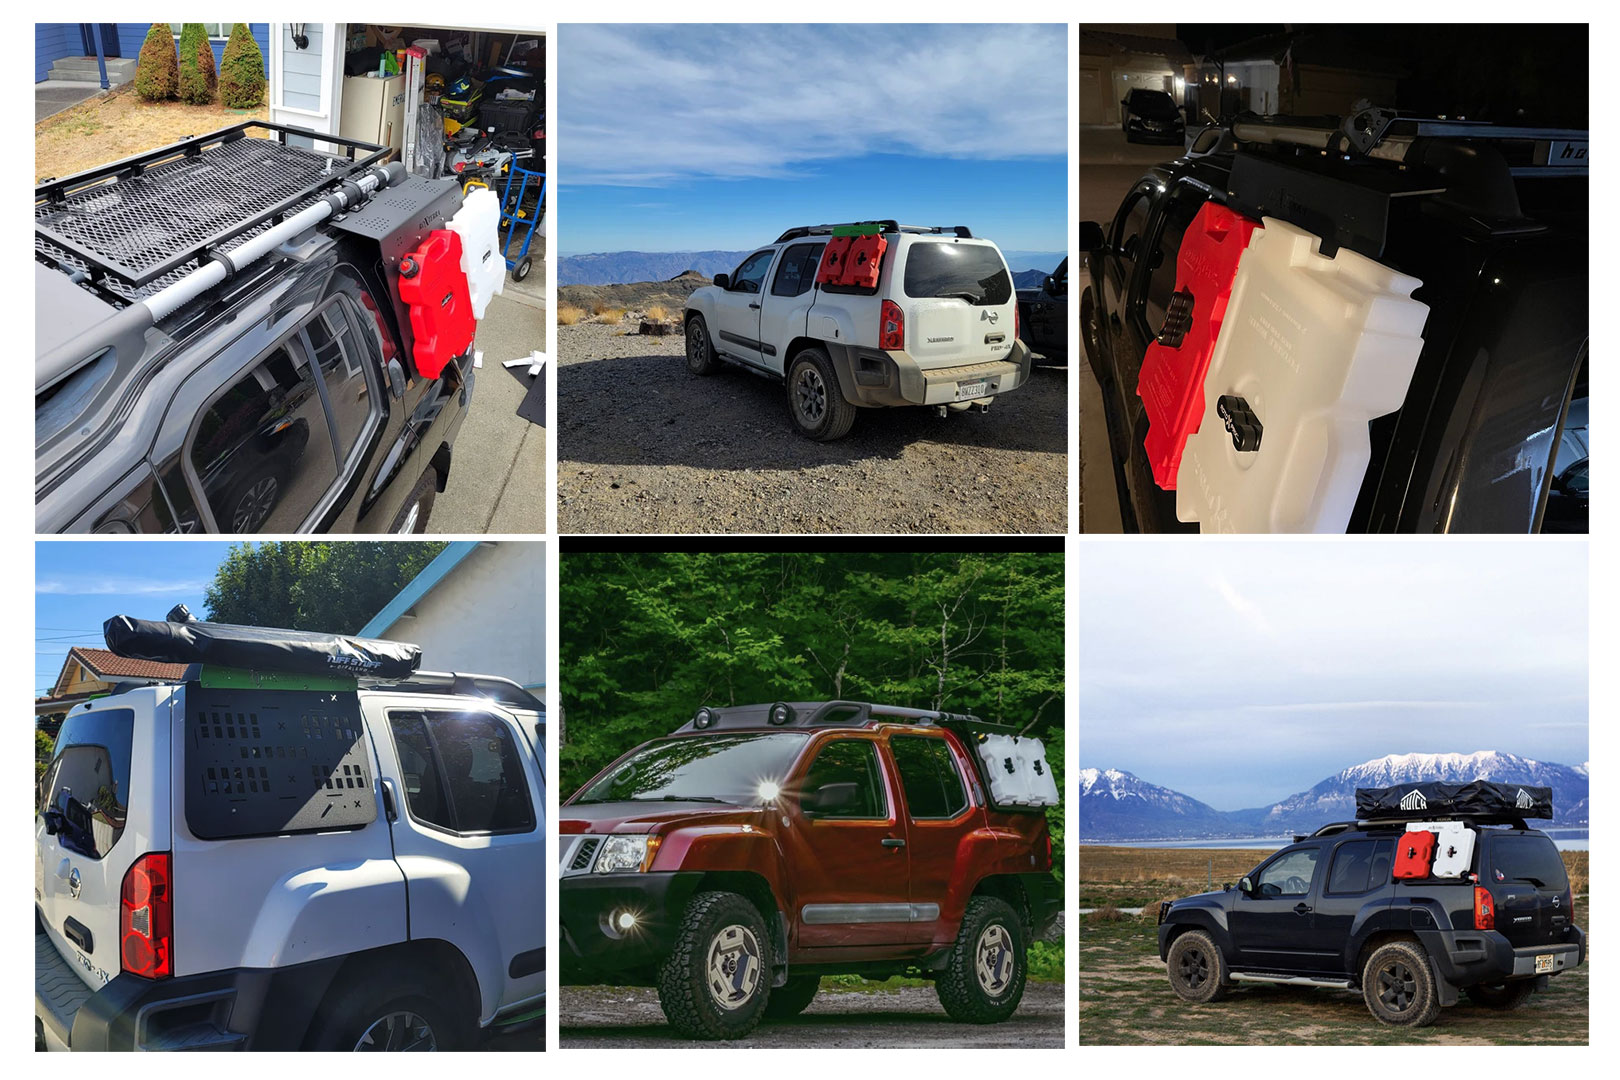
Buy here: roXfinder.com/sherpa Purchase history, shopping cart, favorites and more
on our new website
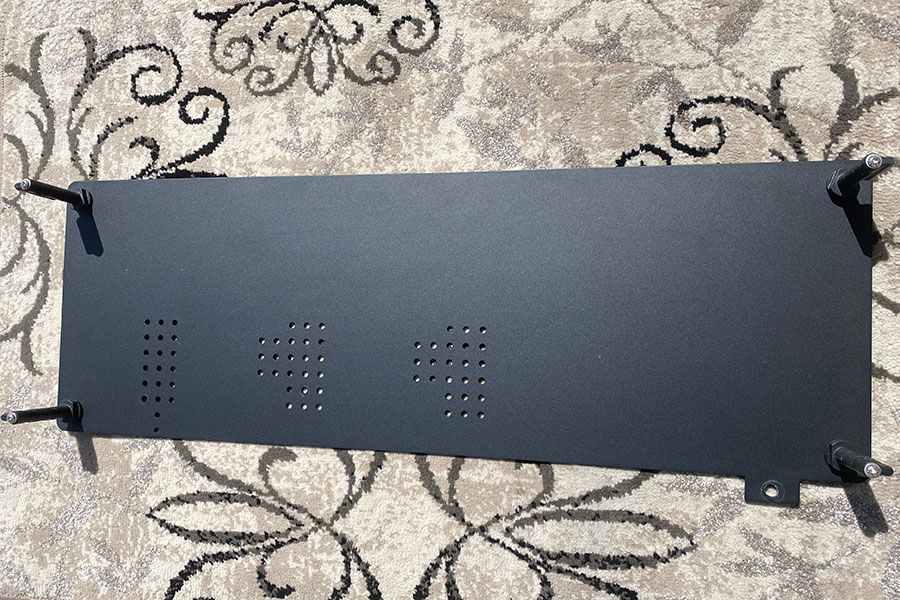
Install hardware
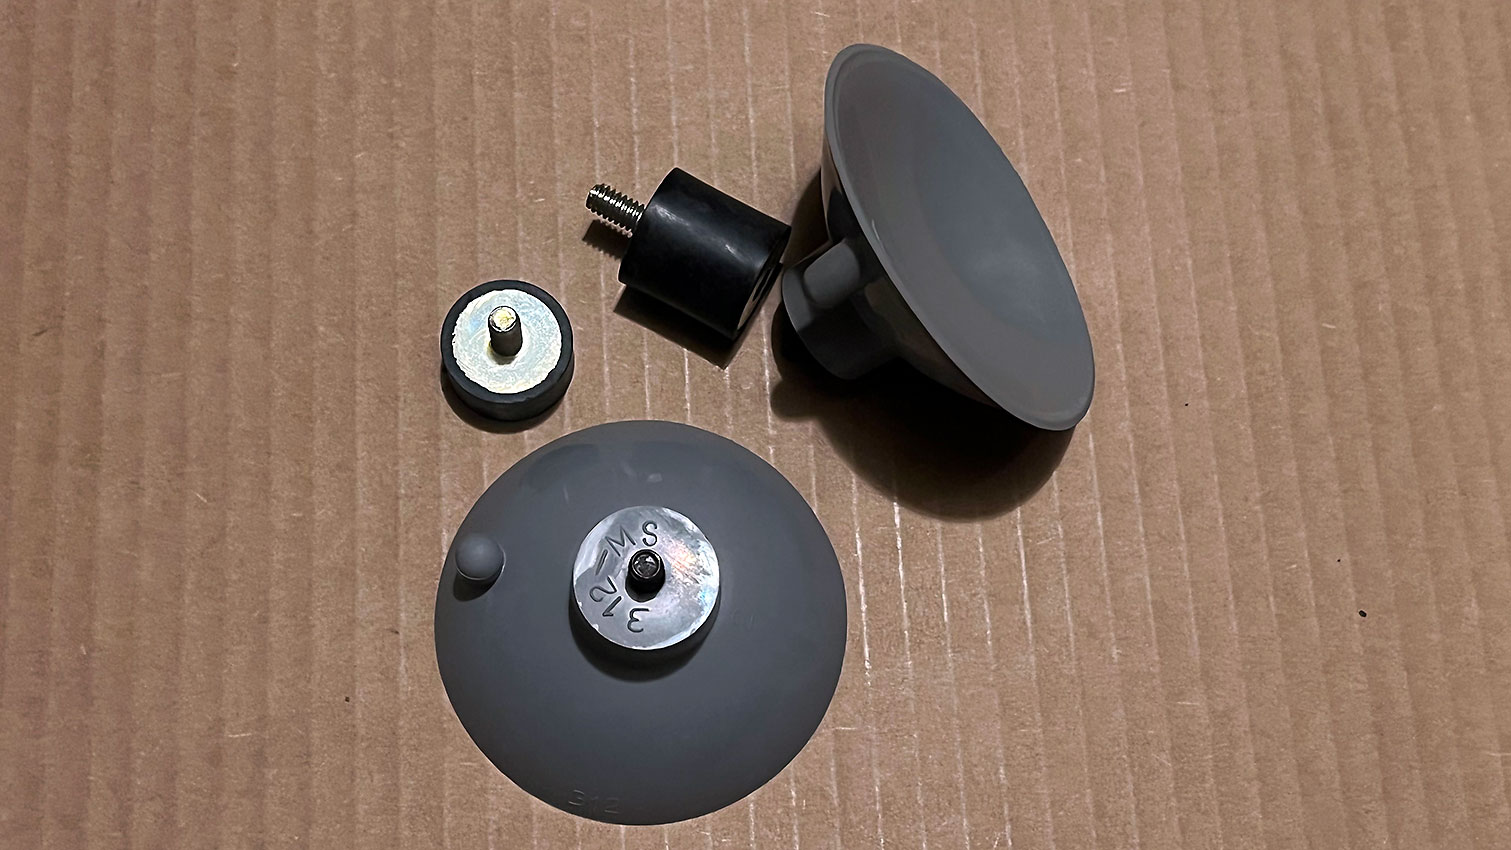
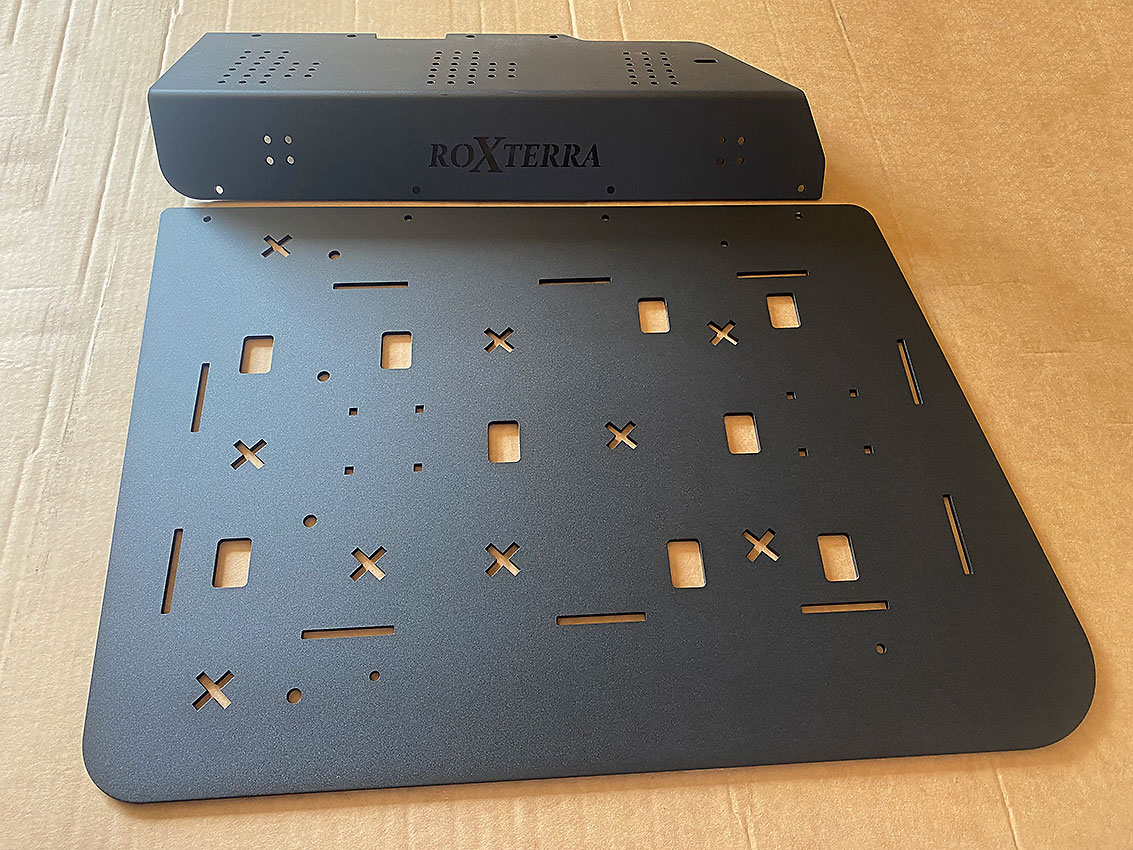
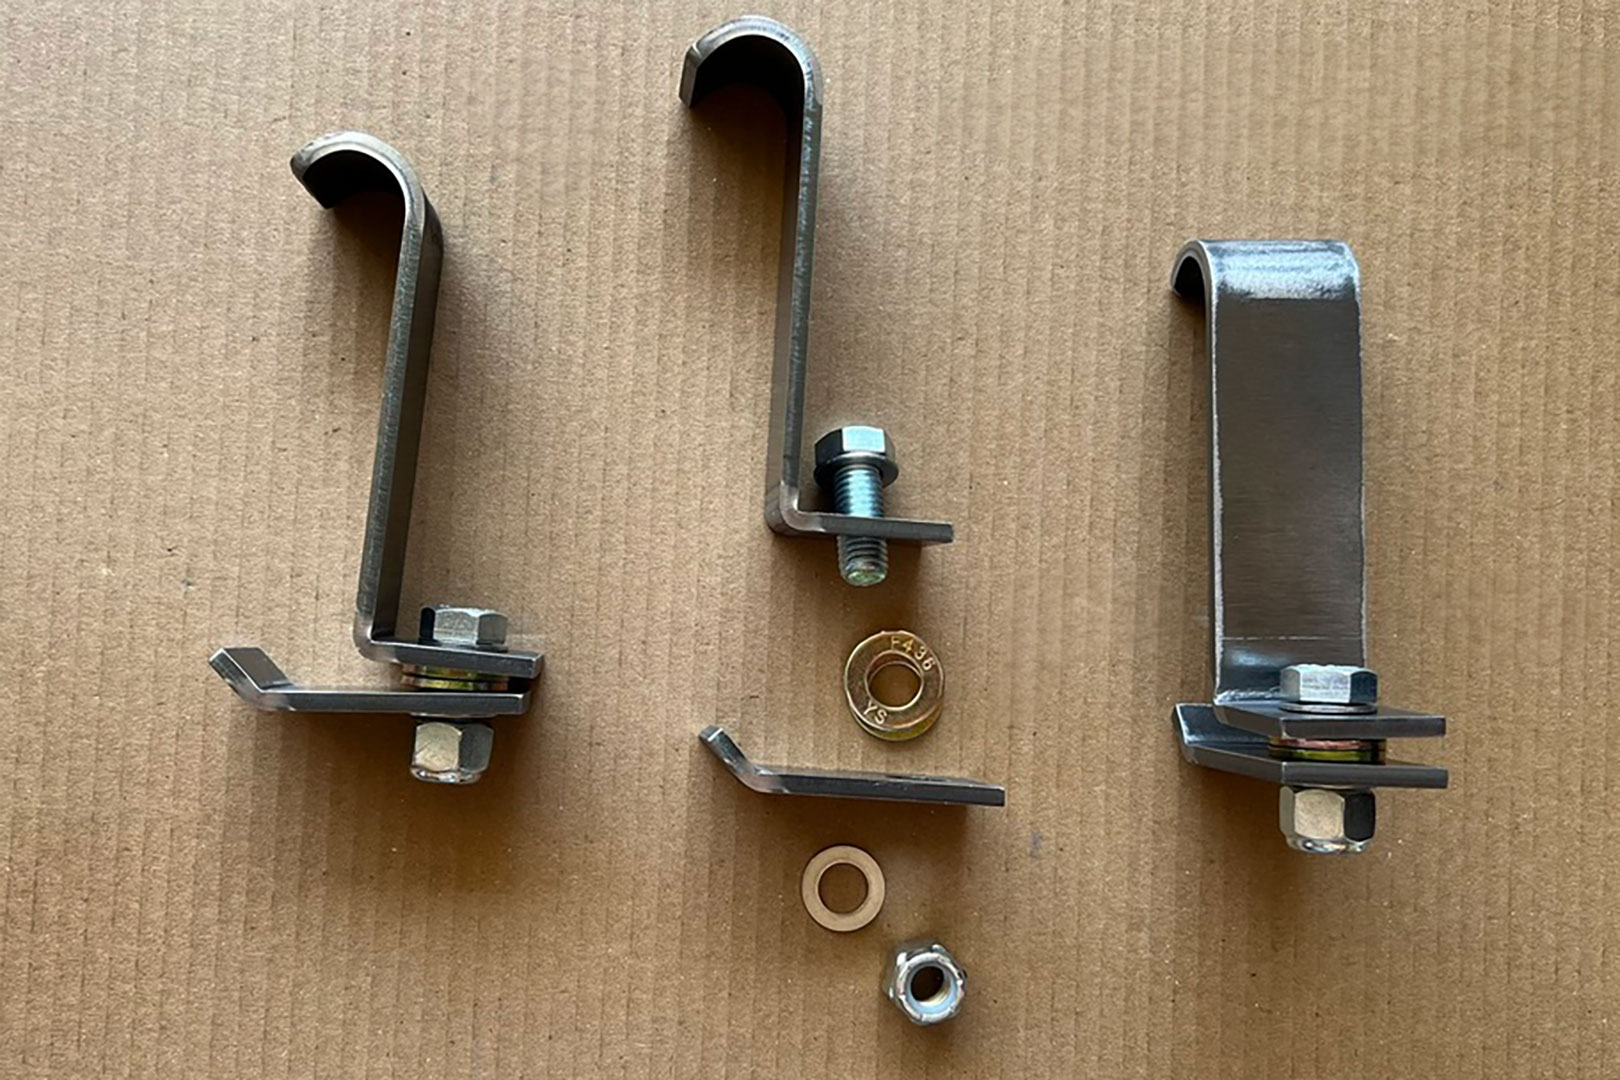
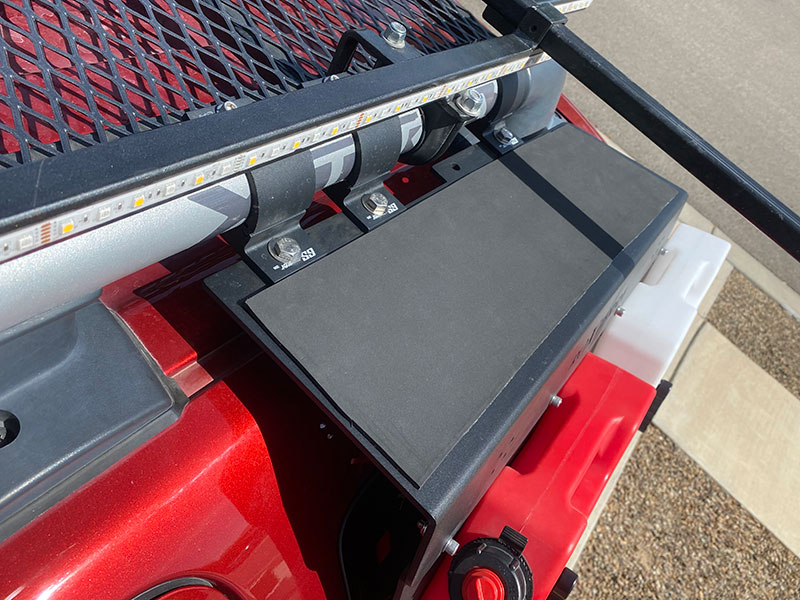
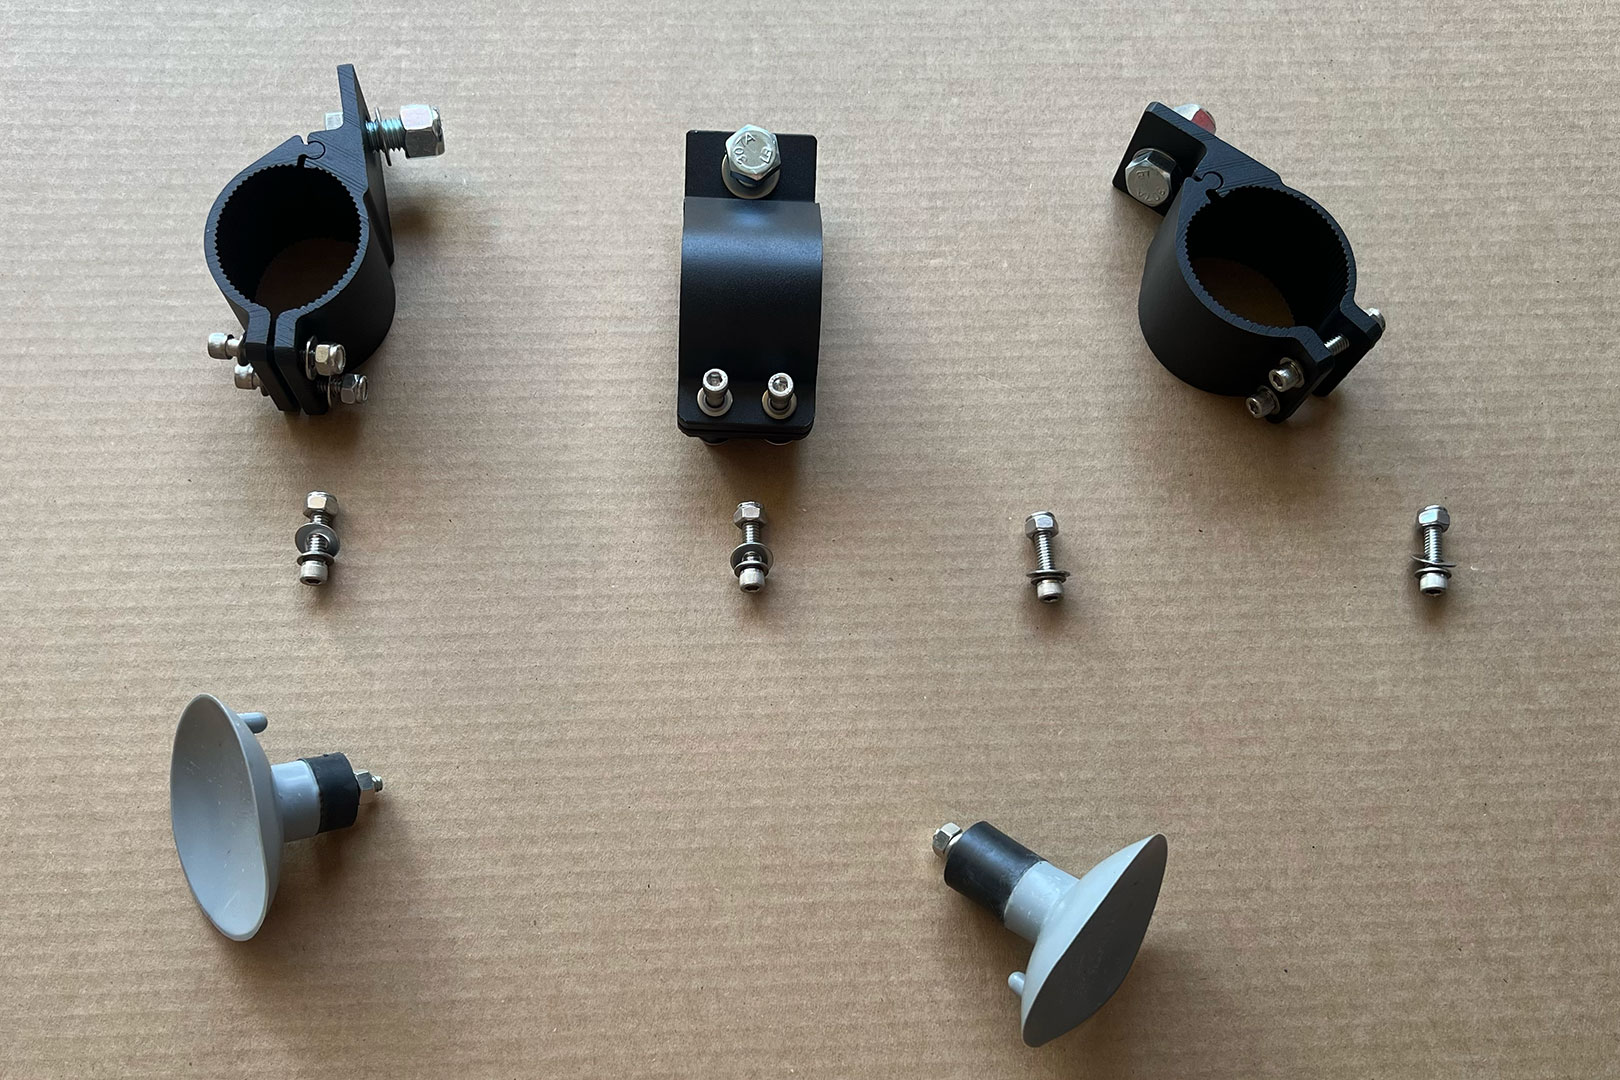
• The hardware comes assembled as shown
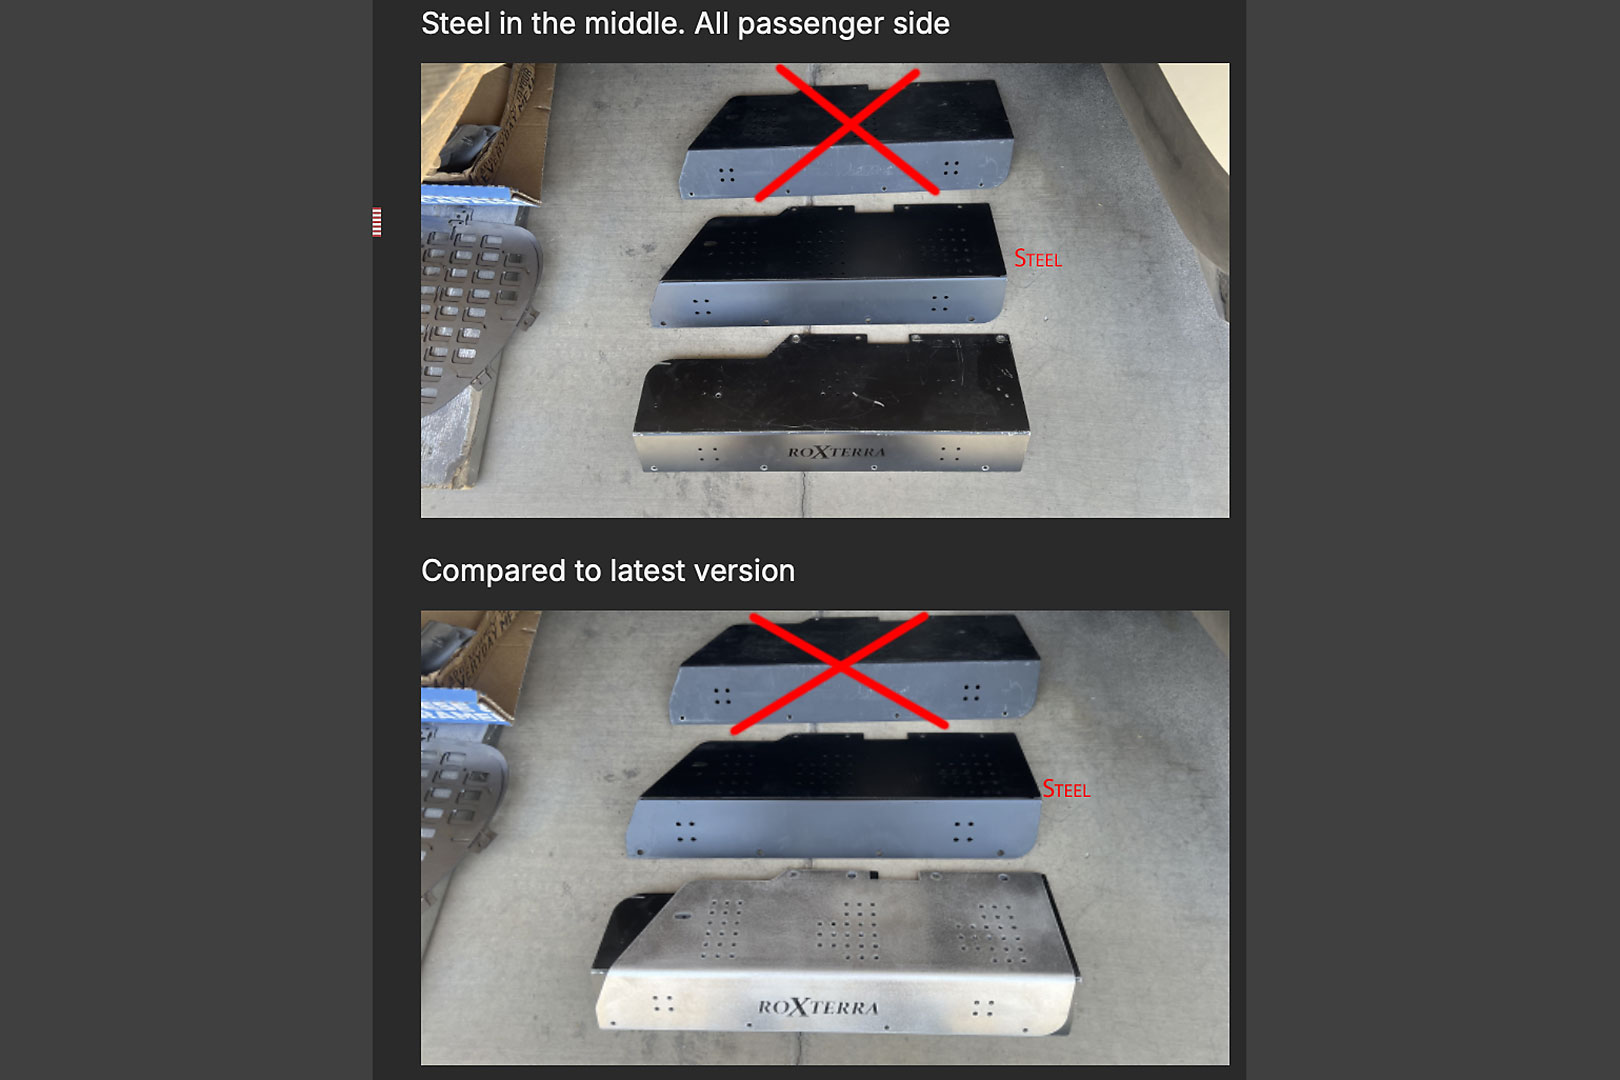
• Row 1: round bar mounts
• Row 2: bolts joining main panel to wing panel
• Row 3: suction cups, taller spacer is for the back
Install hardware
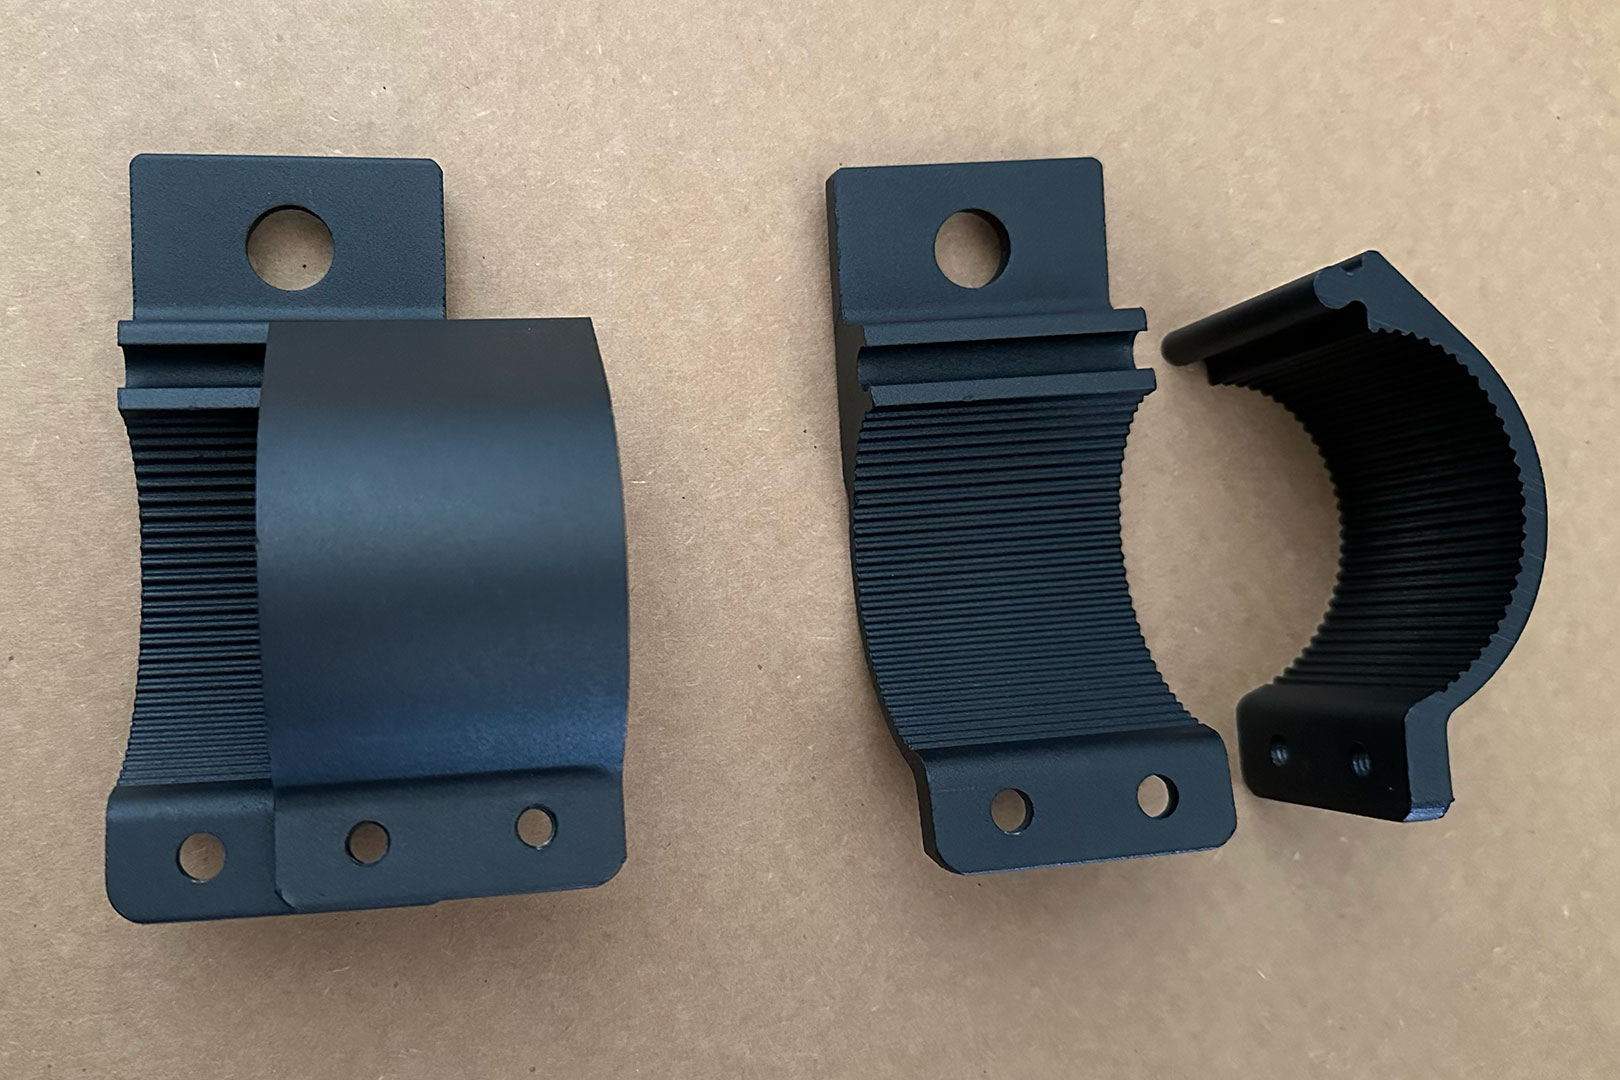
1) Take apart the round mounts
1) Take apart the round mounts
2) Place top half on Xterra round bars
2) Place top half on Xterra round bars
3) Slide bottom part into place
• Insert smaller bolts into the assembly
• 2 bolts per mount
• Bolts and washers order is shown in first photo above
3) Slide bottom part into place
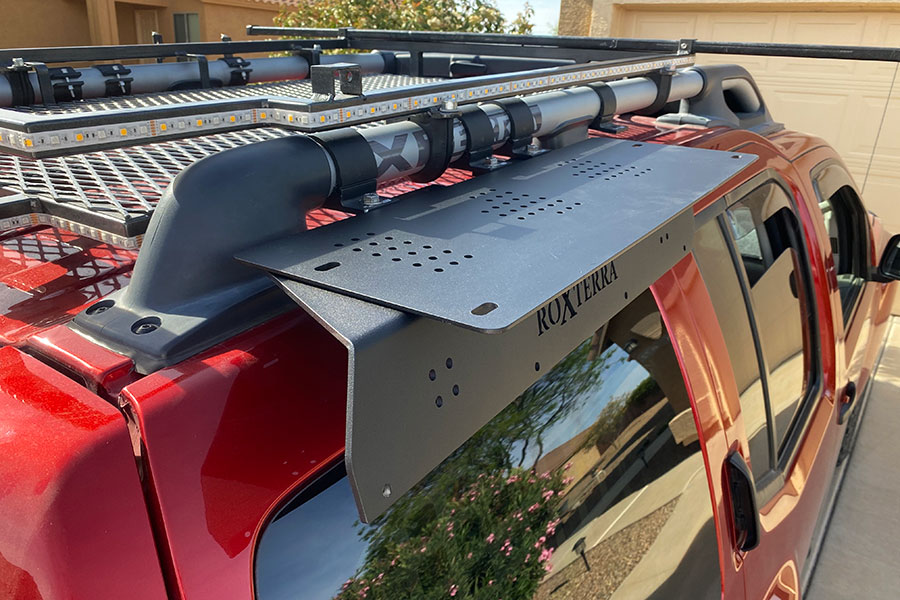
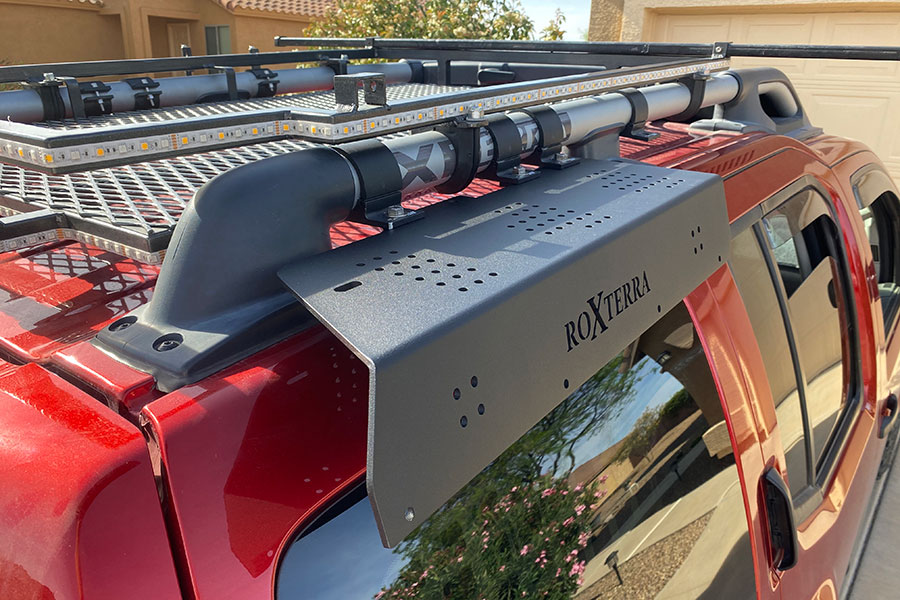
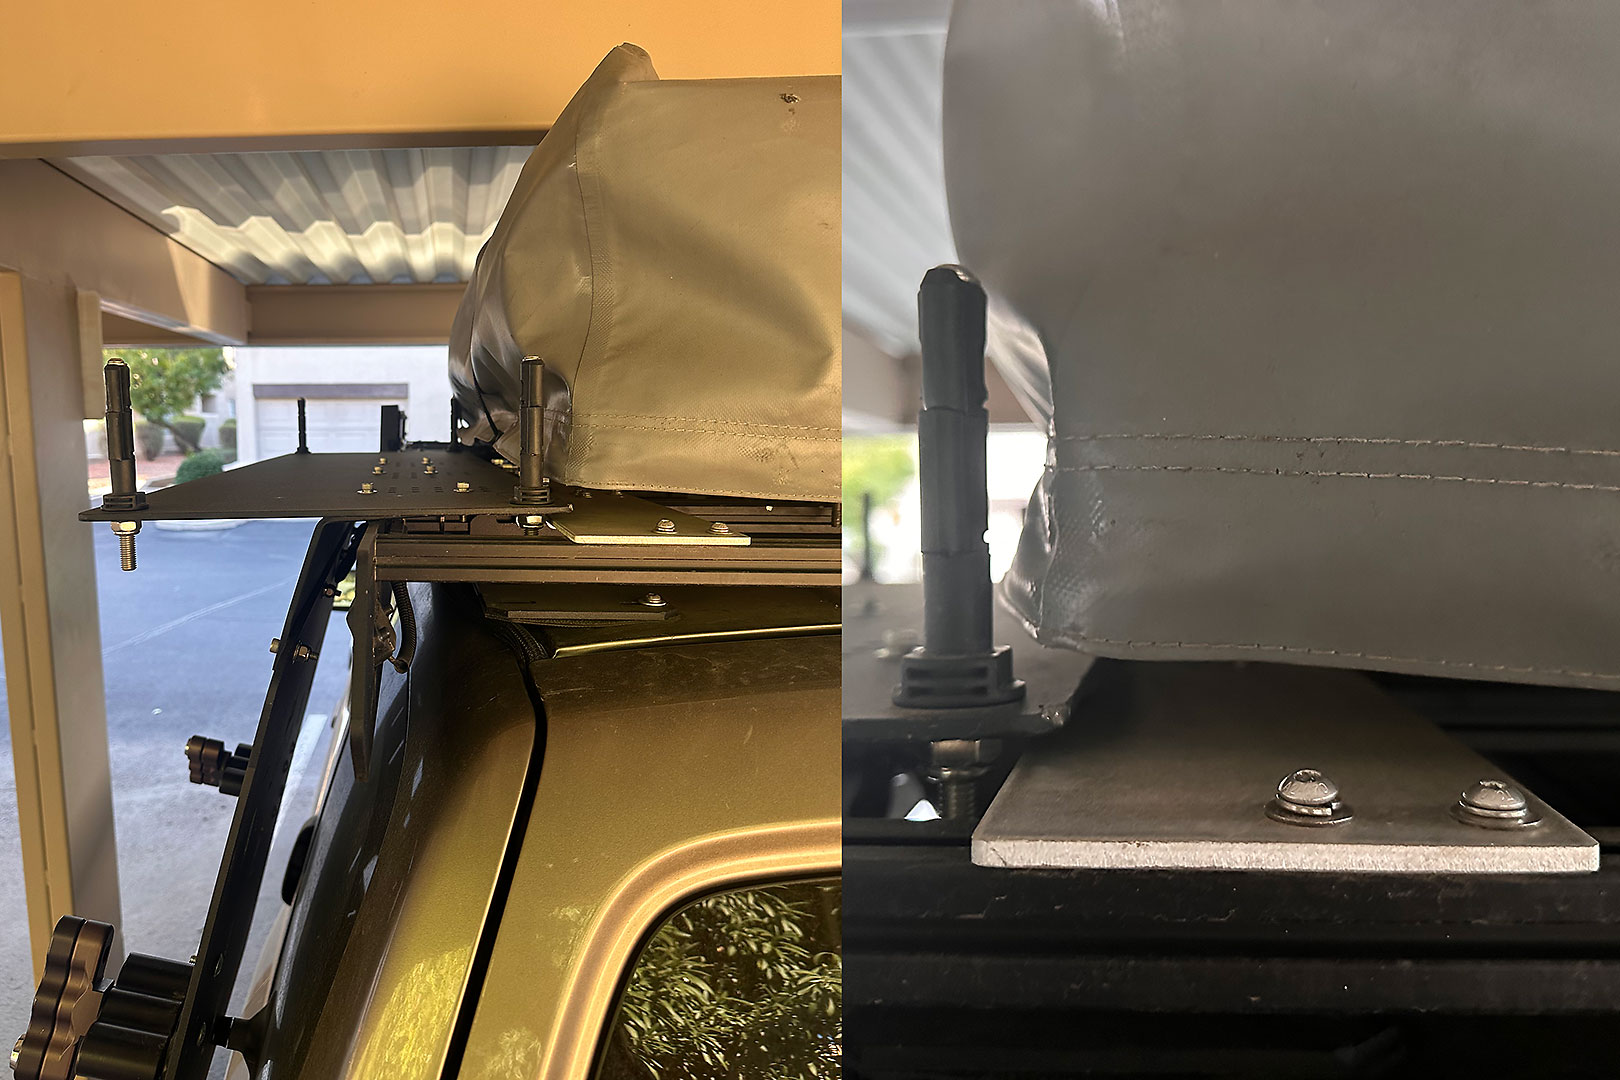
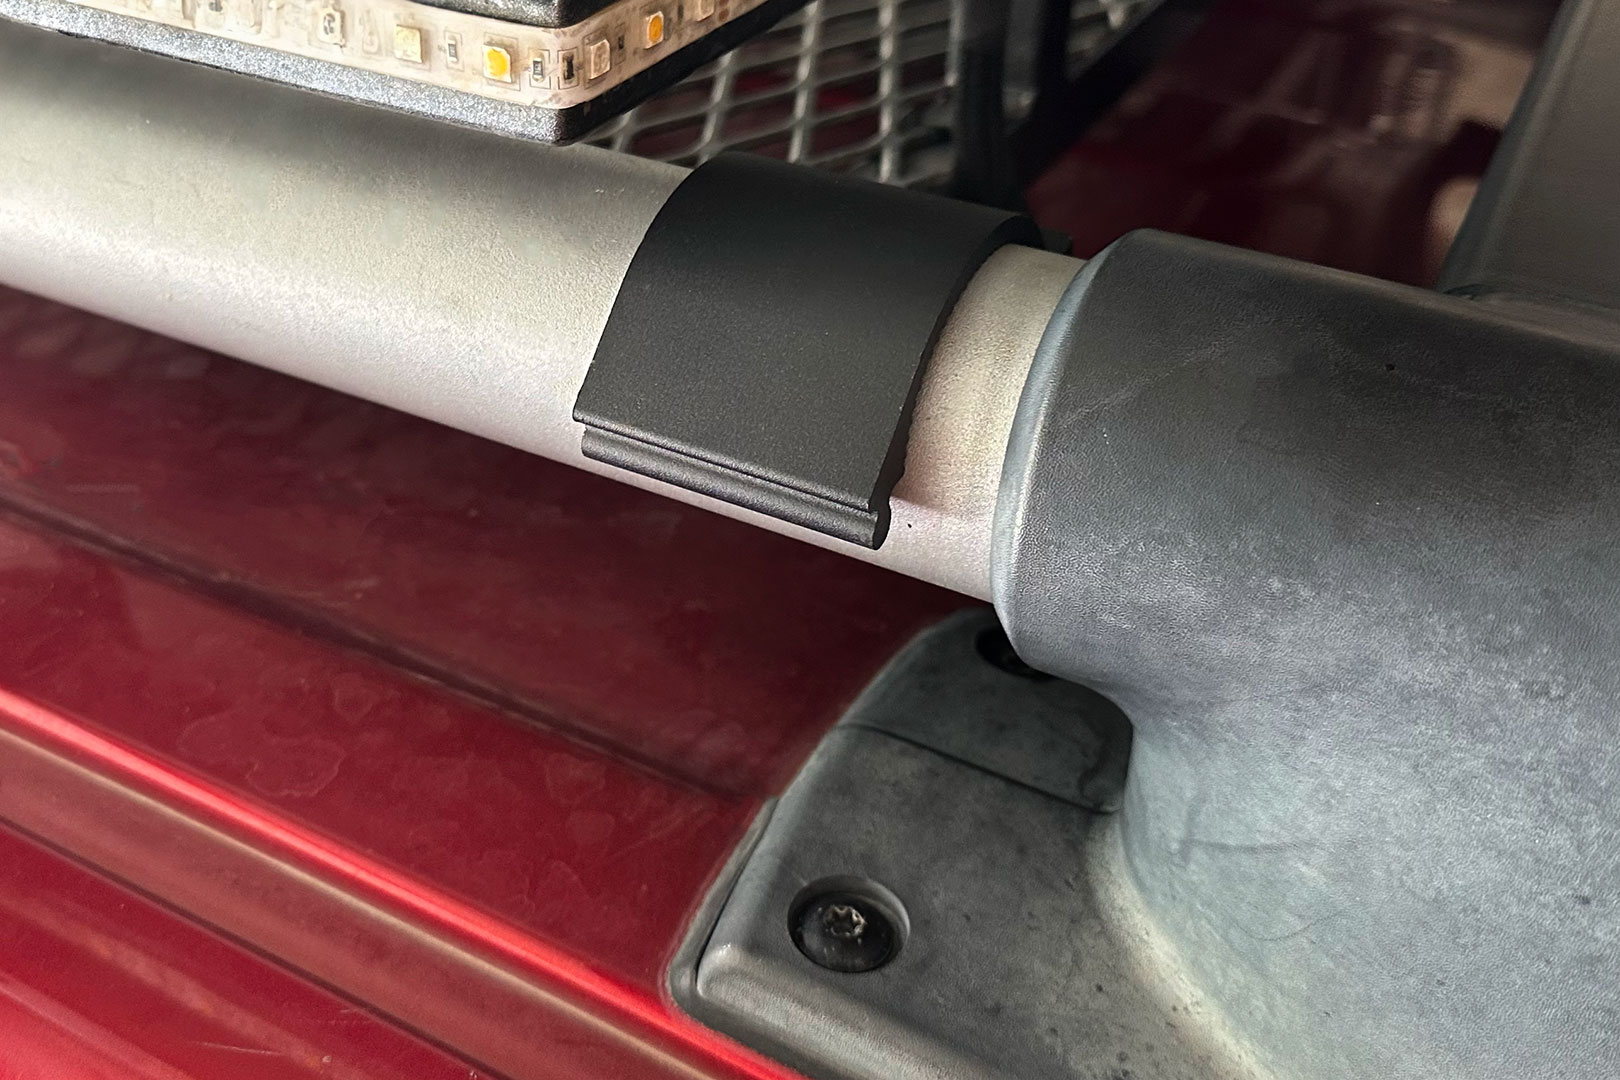
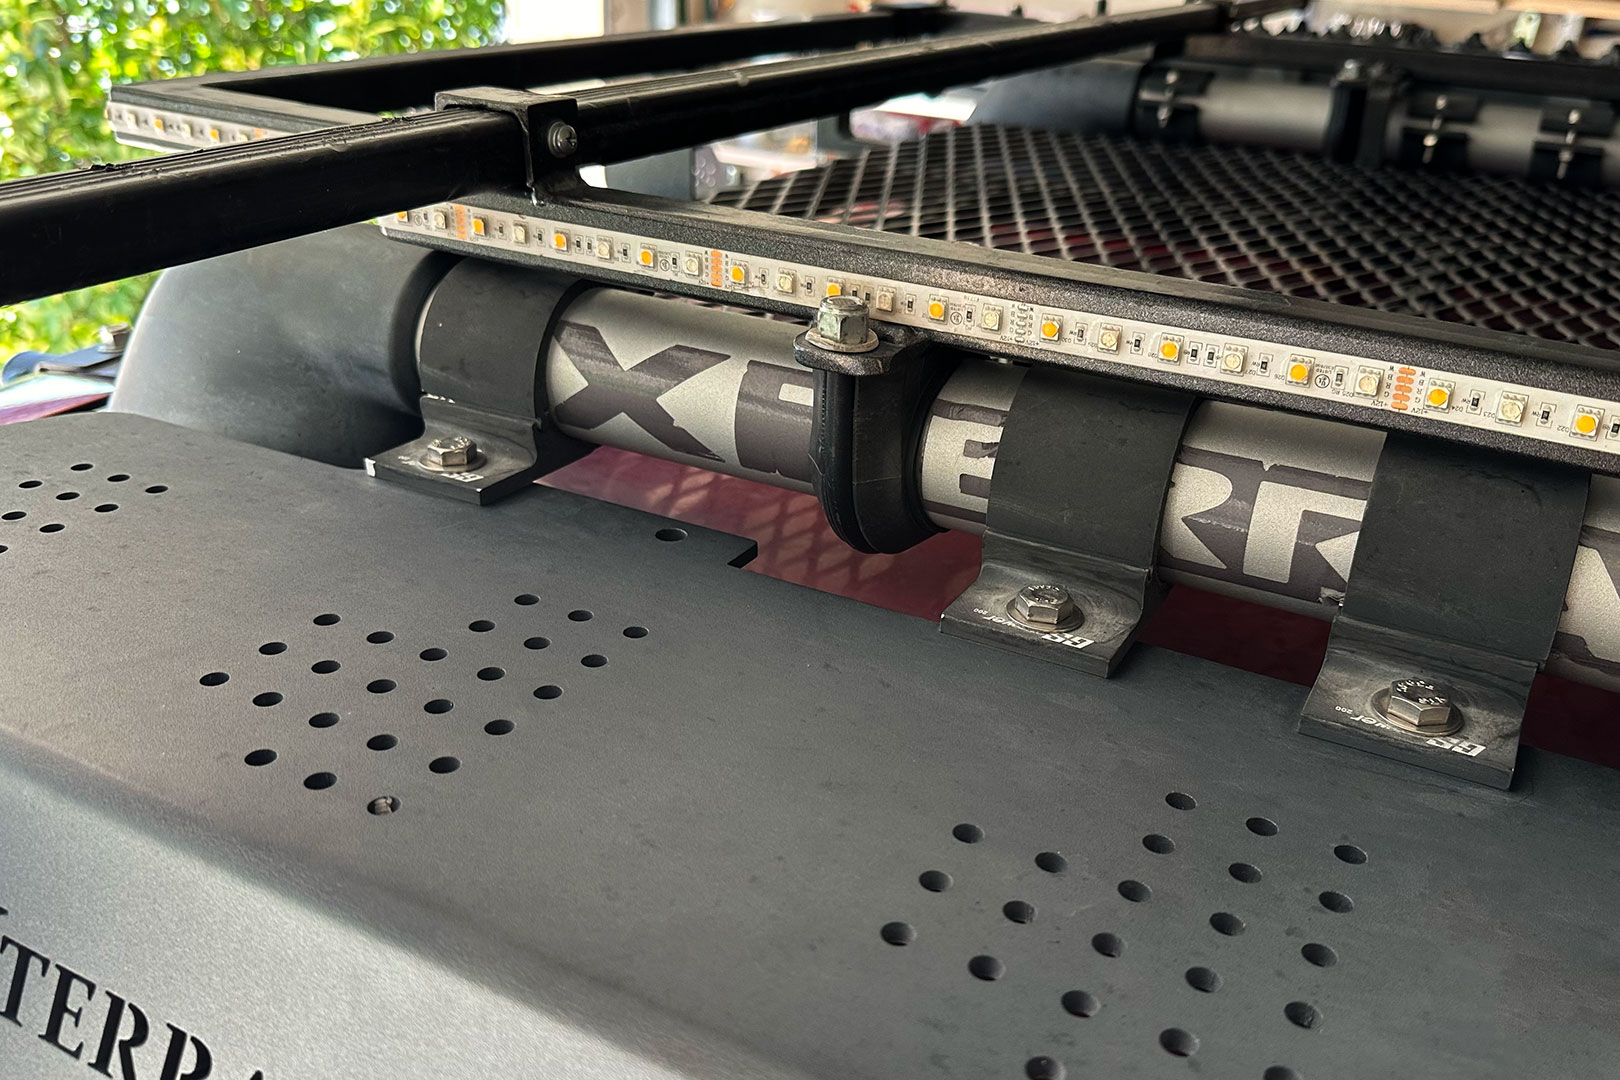
4) Installed look
• Big bolts mount as shown, washers are under bolt head and under a nut on the other side
• place the wider bolt (3/8 inch) through a washer, then mounting bracket, then L panel
• before tightening make sure the mounts are level, using a Level tool
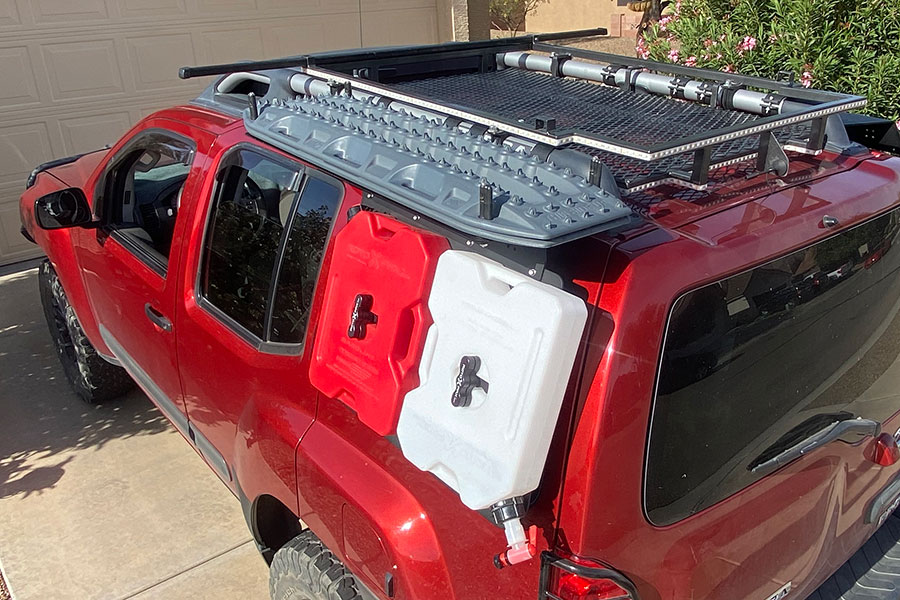
• When installed, Wing panel should be under the round mounts as shown
4) Installed look
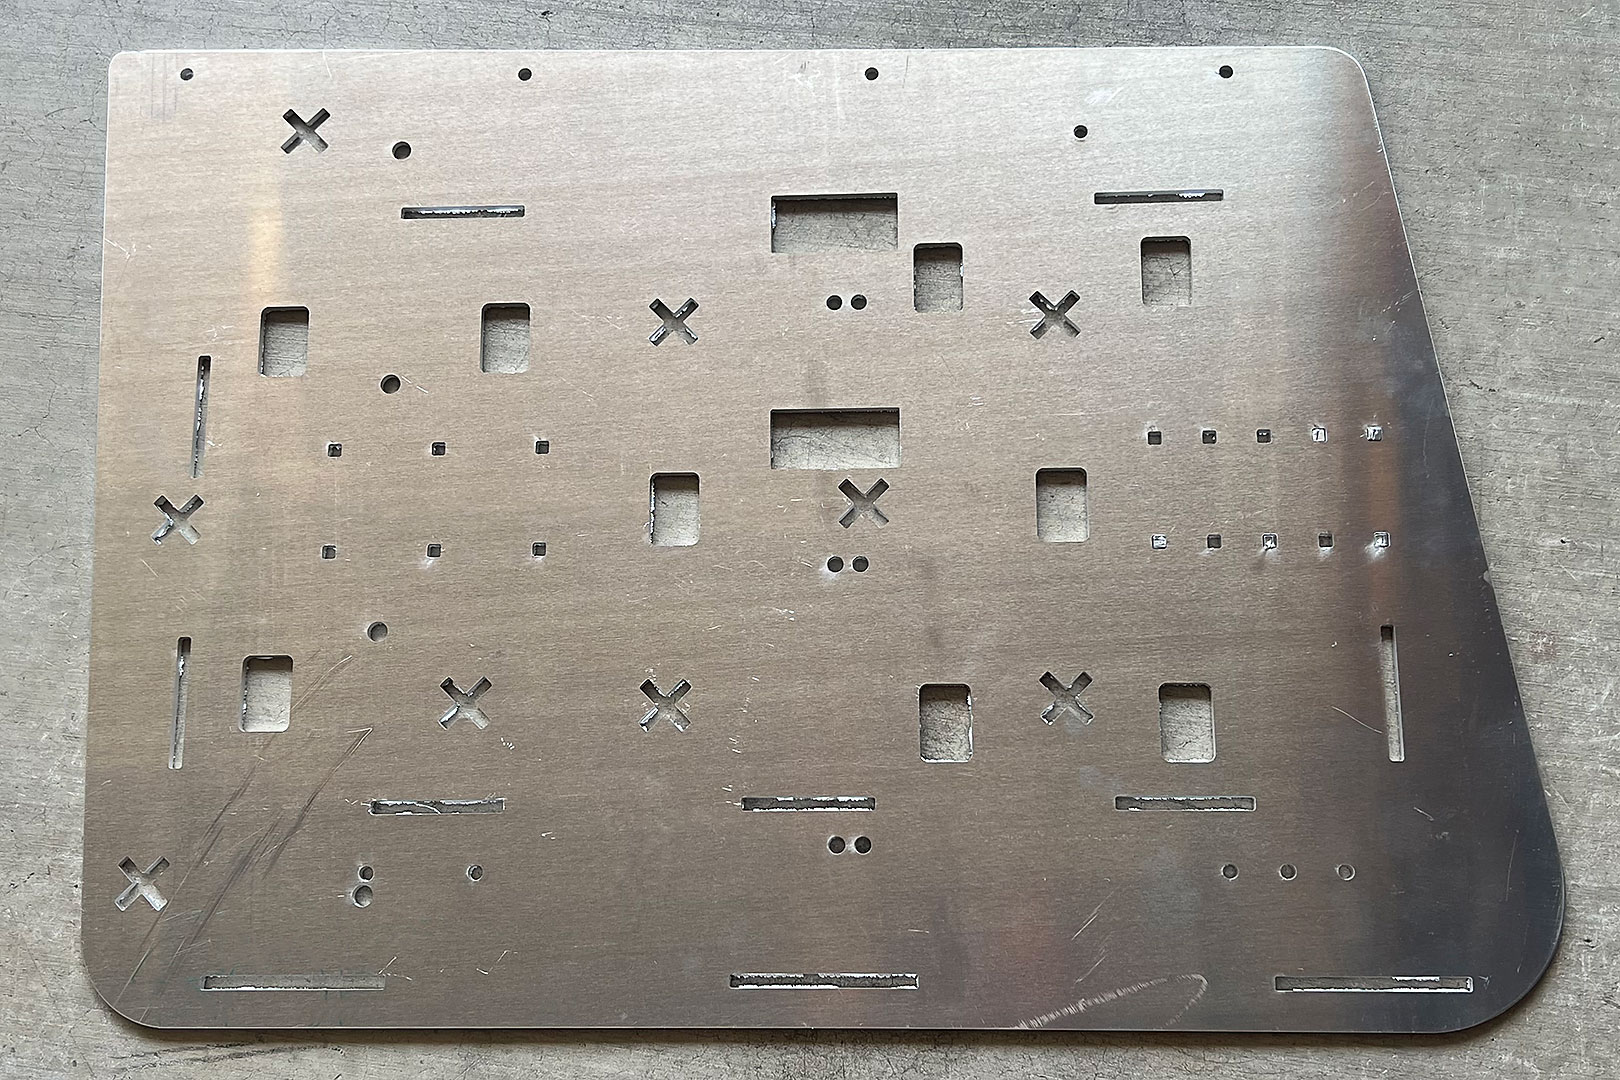
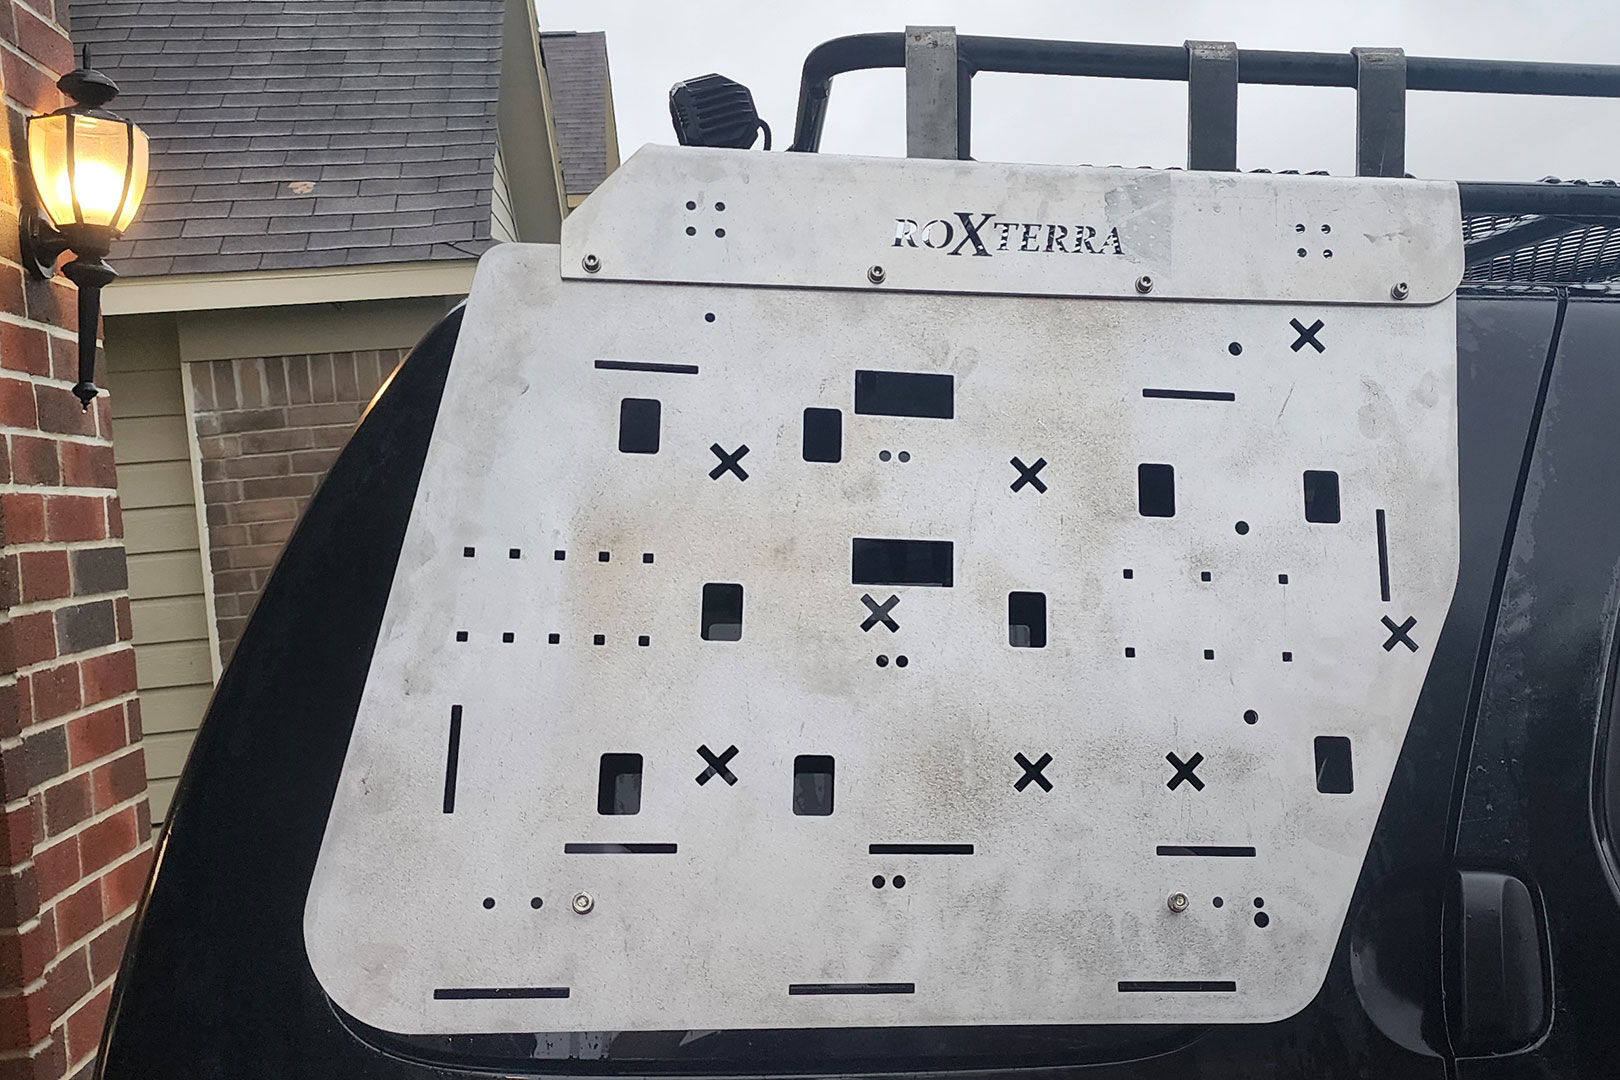
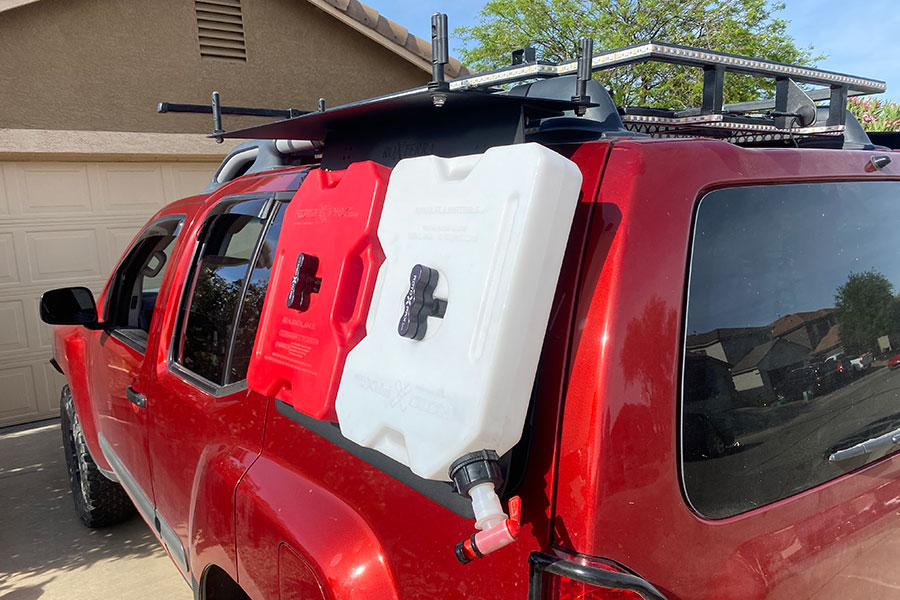
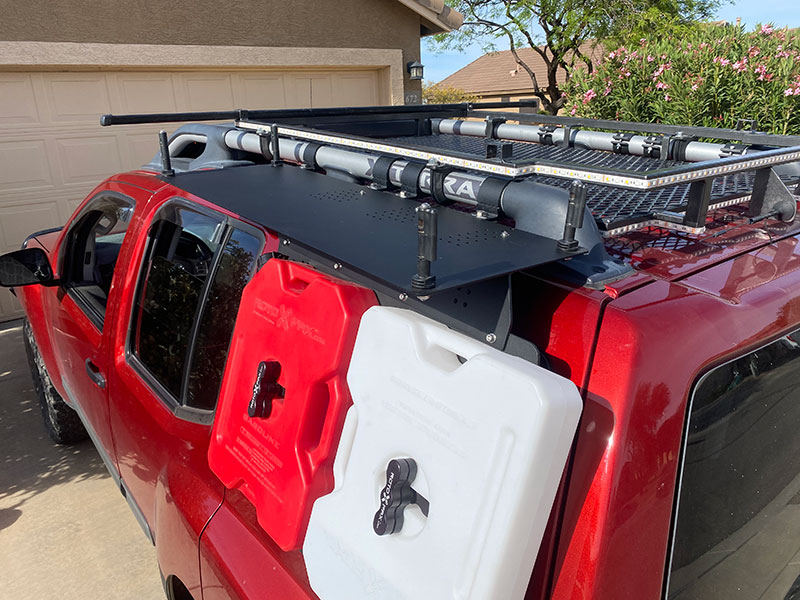
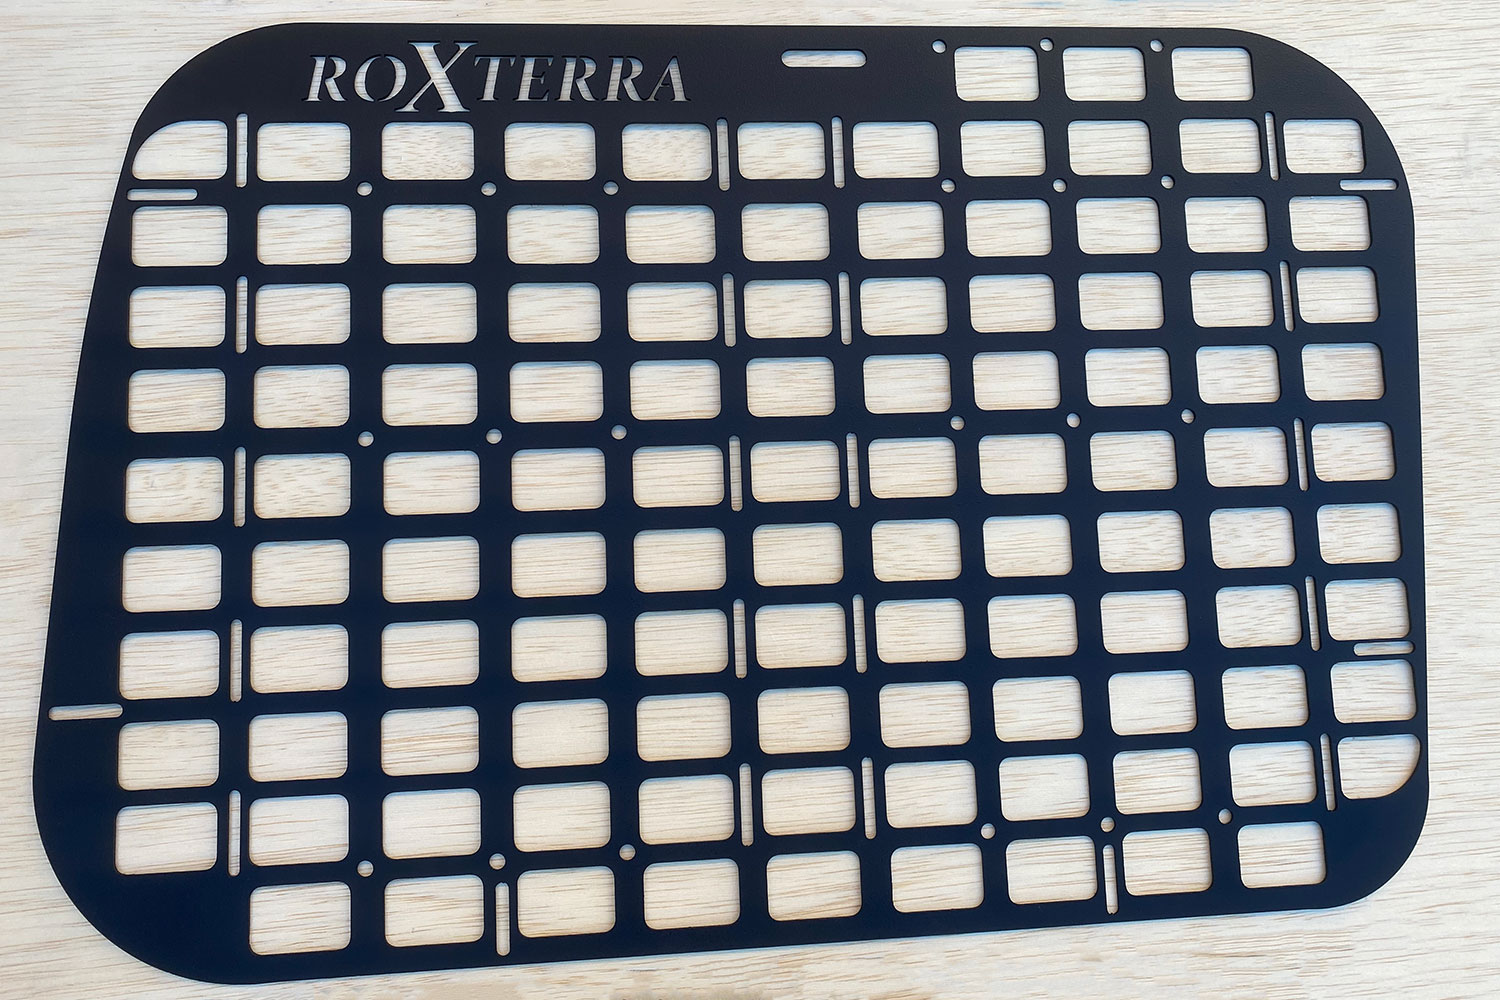
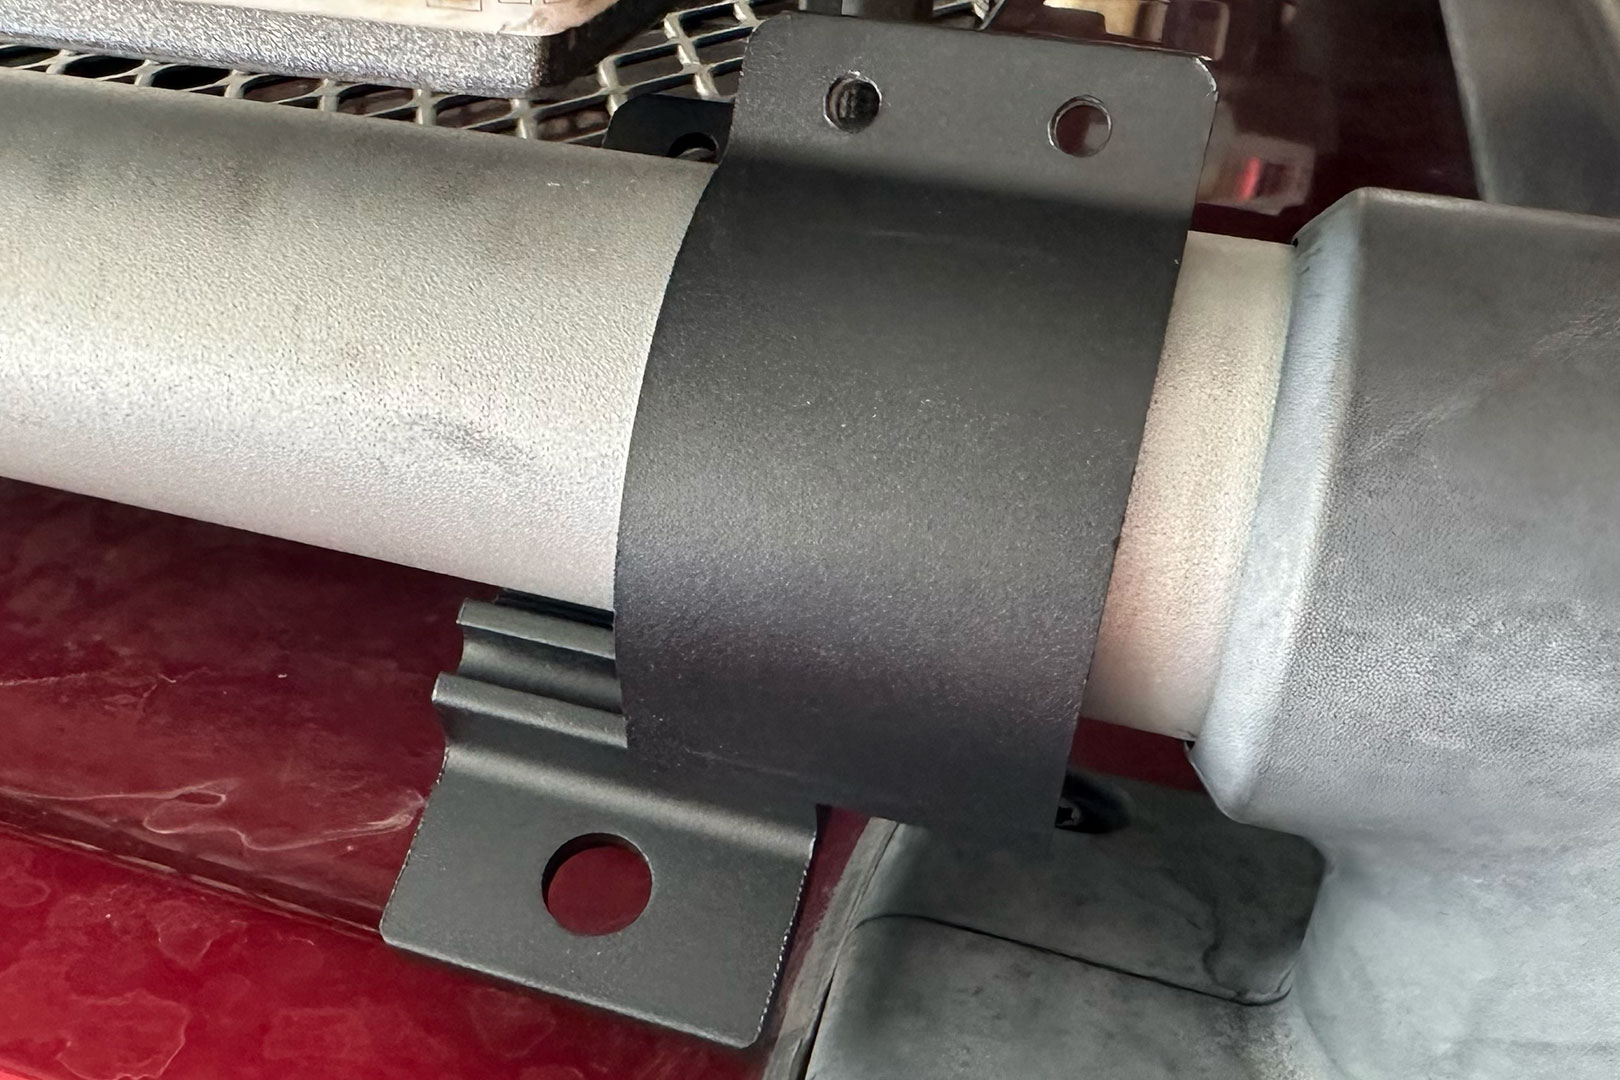
5) Install L panel
• L panel should be under the bracket -- it helps with tension and angle
• use 3 brackets (1 on vehicle end, then skip one, then 2 on vehicle front) -- here a roof rack (but it could be your stock cross bars) doesn't allow for using 4 brackets
• using a power tool makes this a lot faster:
• .... 1/4 inch bolts: 3/8 inch tip on front, 7/16 wrench on the back
• .... 3/8 inch bolts: 9/16 inch hex head on front, 9/16 wrench on the back
5) Install L panel
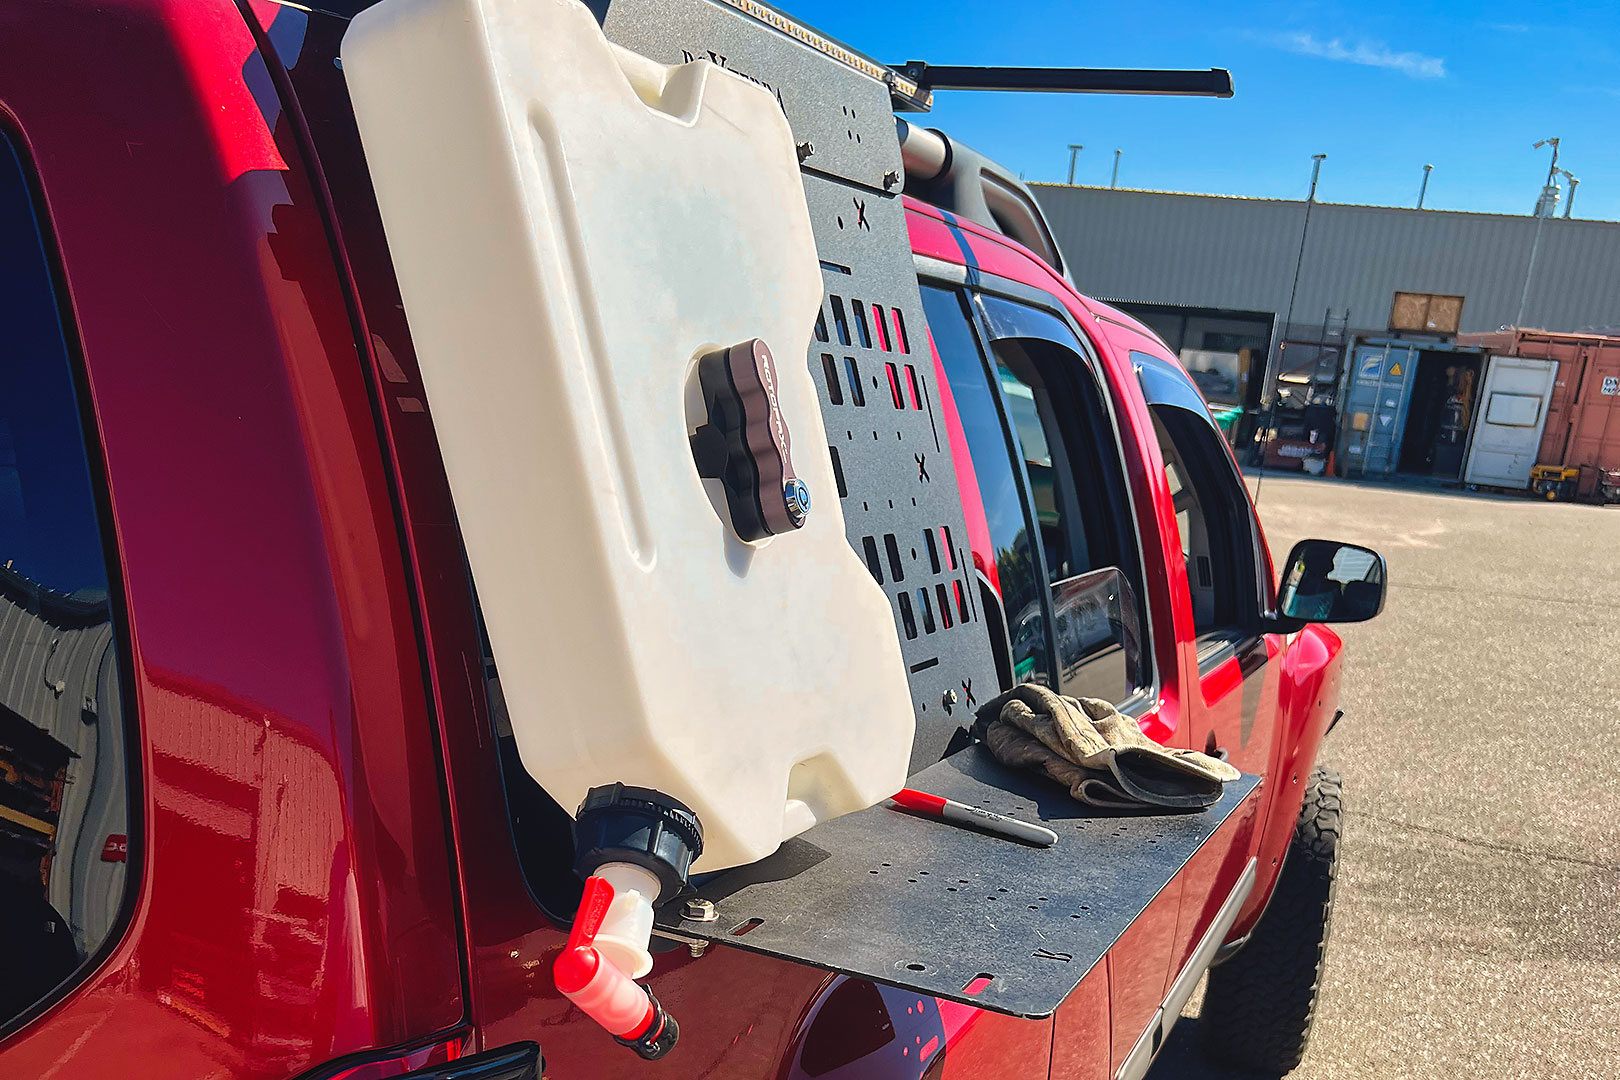
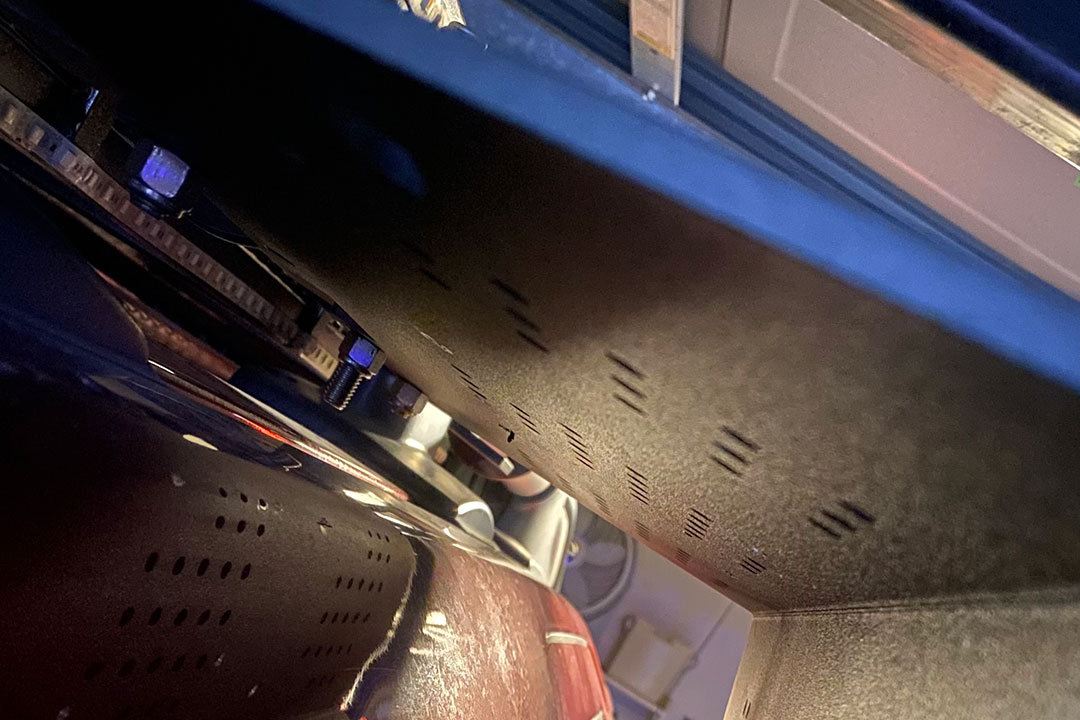
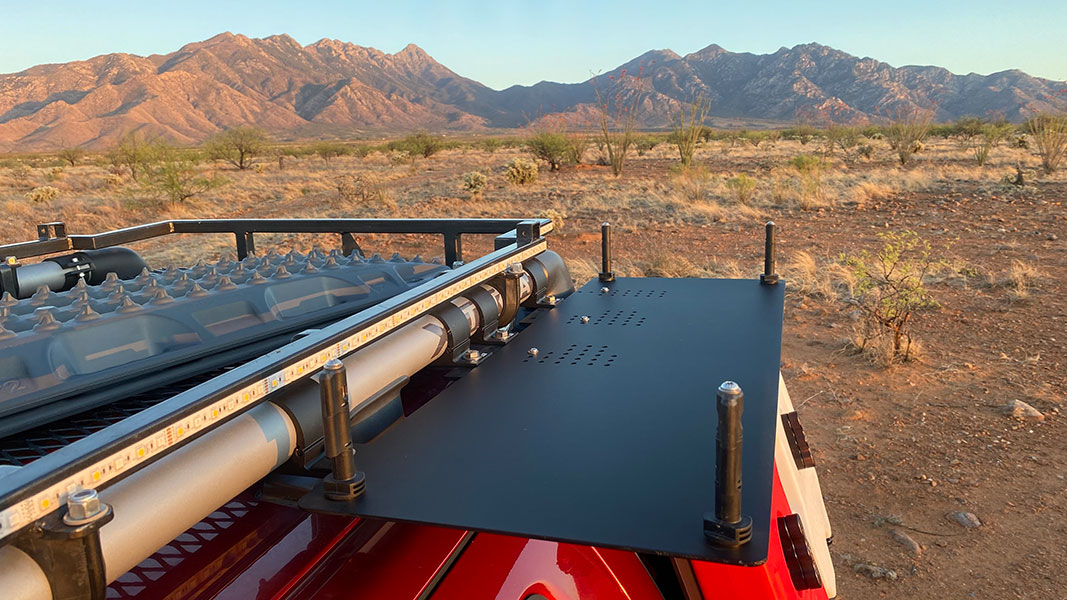
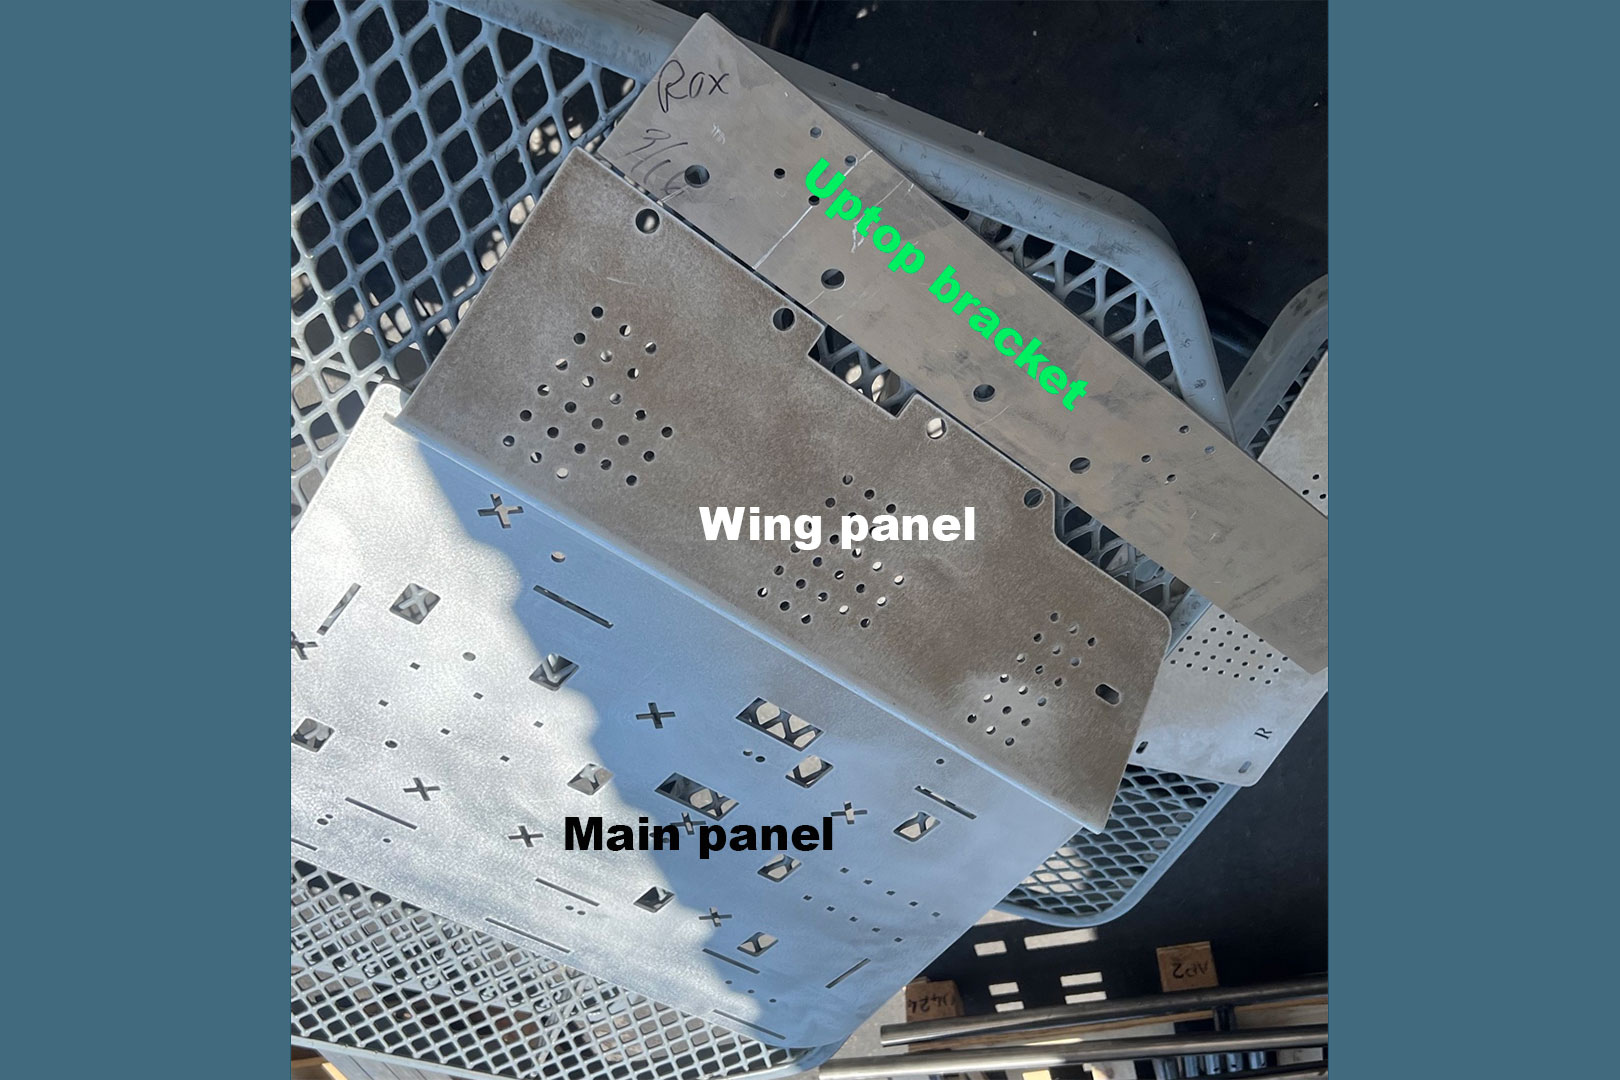
6) Install main panel
• place the suction cups on the panel first, the locking washer should be just under the bolt
• the suction cup with a larger spacer should go on the back side (aerodynamic angle achieved when front is shorter)
• Passenger side shown
6) Install main panel
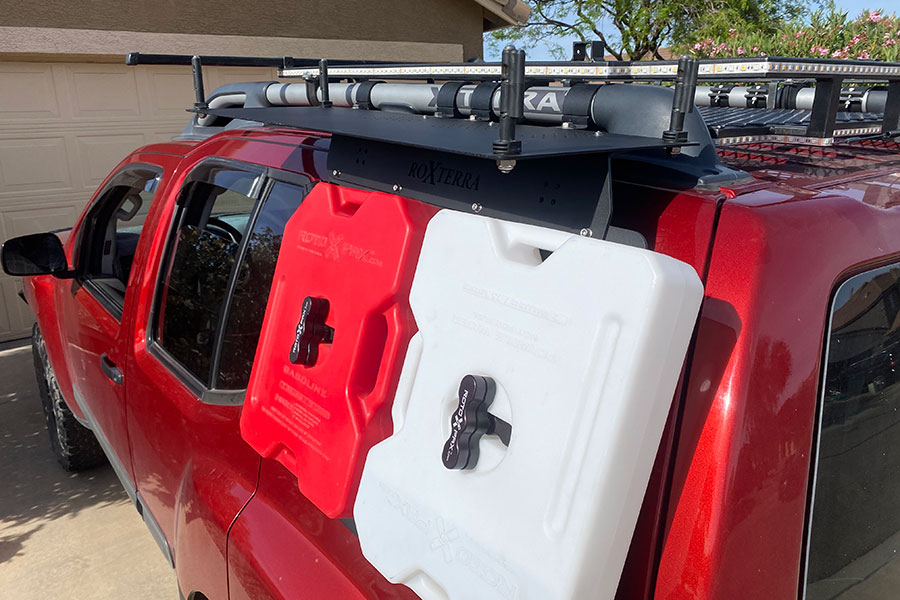
7) Install main panel
• align both panels, and apply slight pressure to the suction cups resting on your clean window (you cleaned it first, right?)
• Place bolt, then washer, then L panel, then main panel at the bottom
• Keeping the main panel at the bottom helps to keep proper tension
7) Install main panel
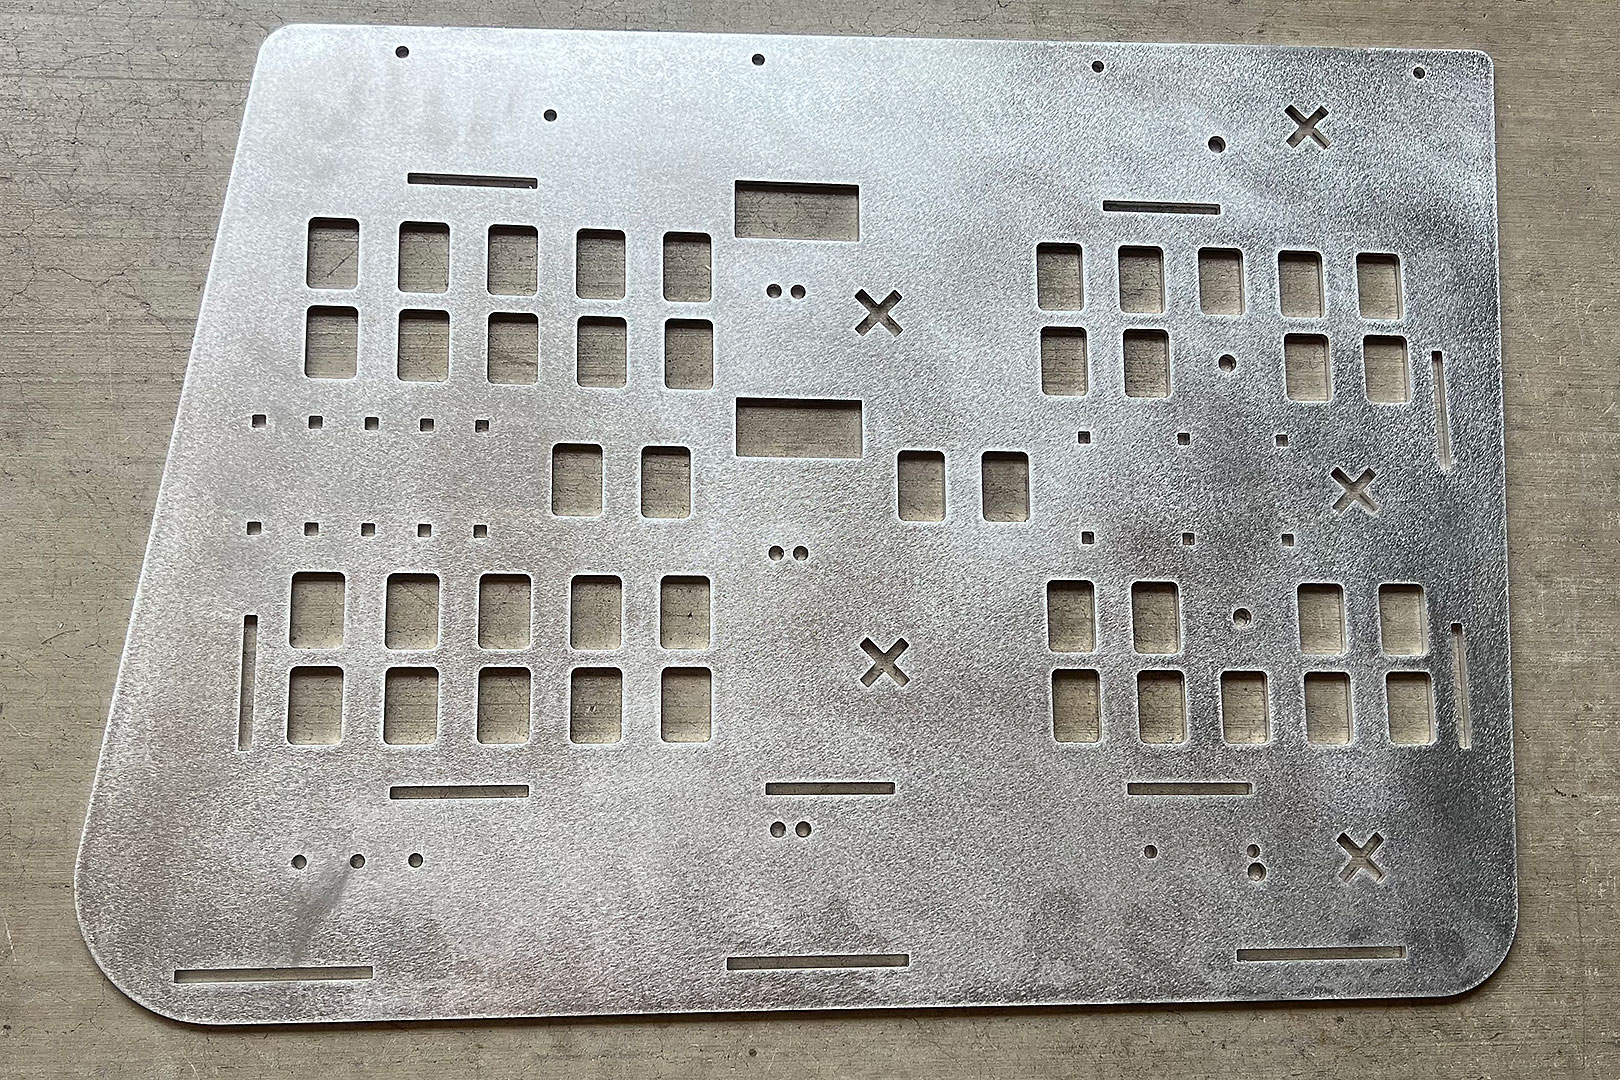
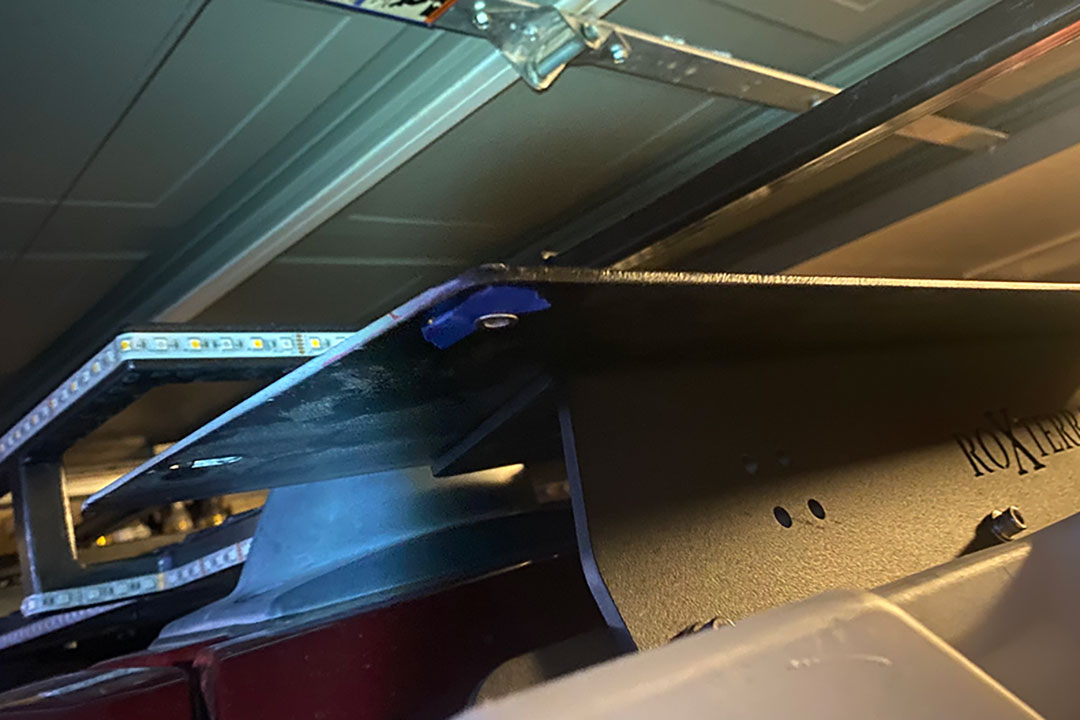
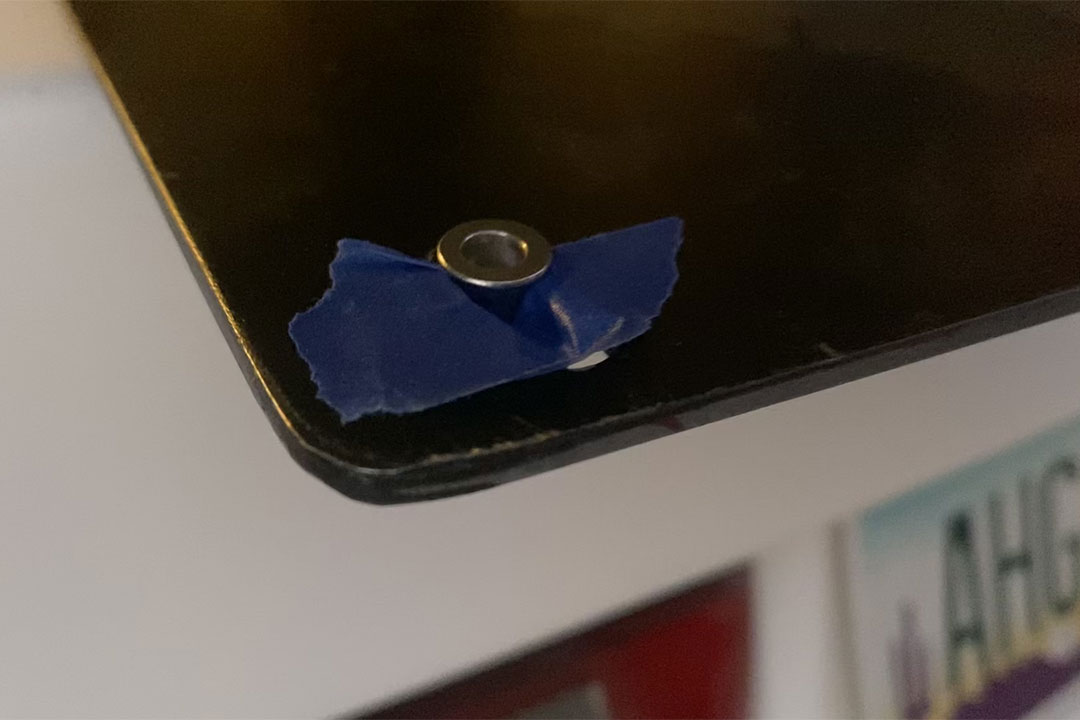
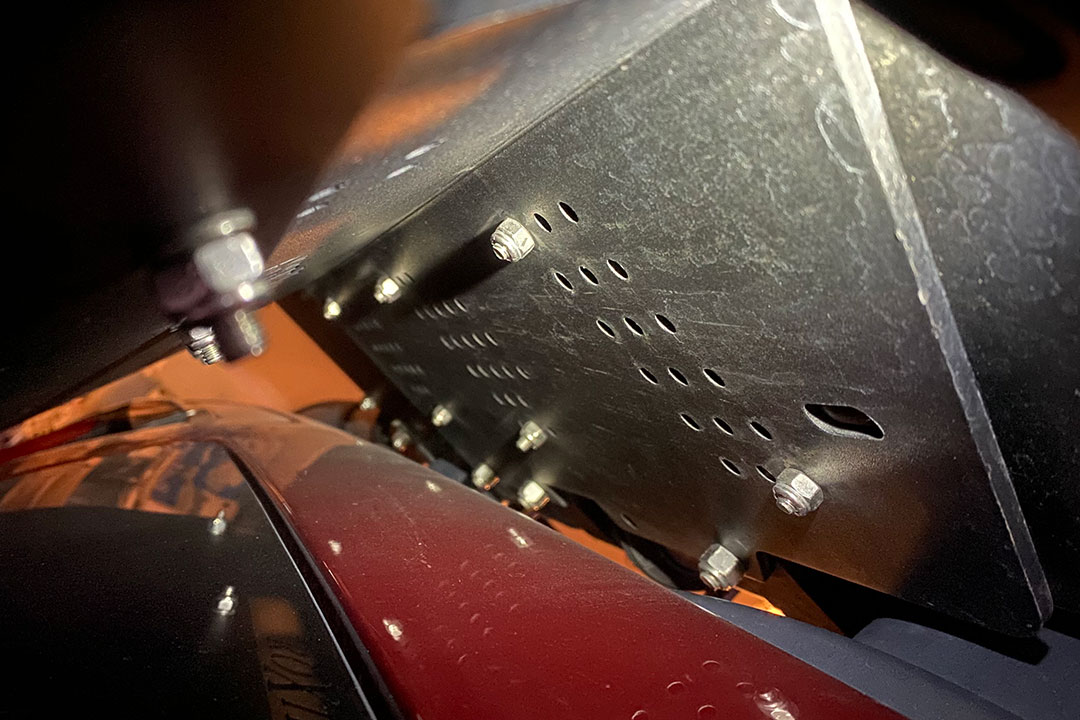
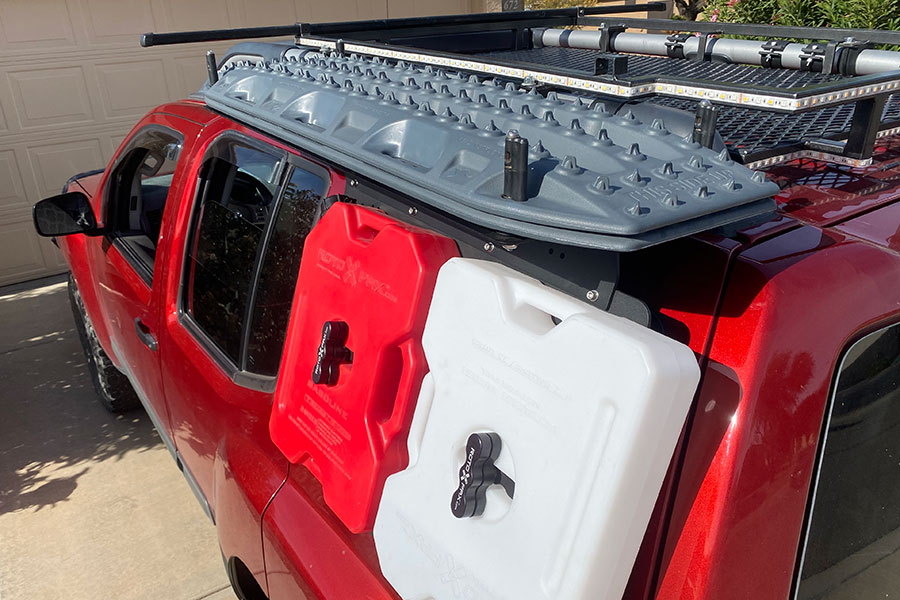
8) Maxtrax panel install 1 (if purchased)
• included is a flat piece of foam neoprene sheet, with adhesive on one side
• -- this foam dampens vibrations and prevents the metal panels from touching each other
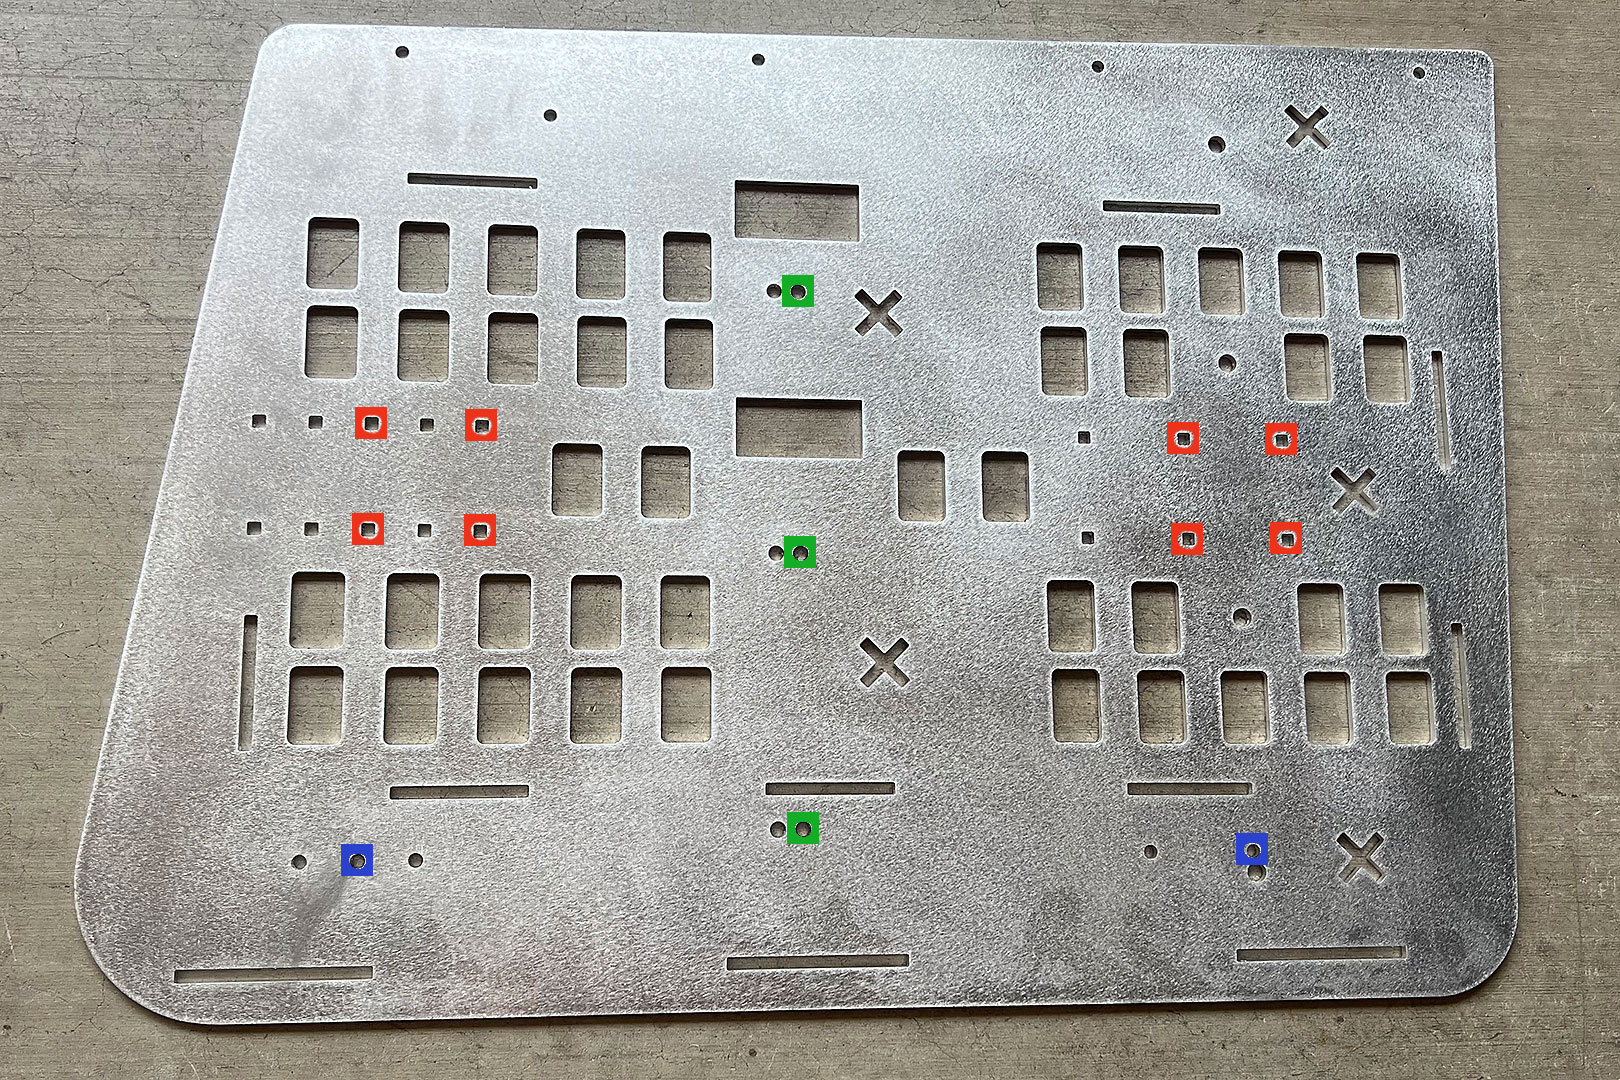
• measure and cut to length, stay away from the edges except near the brackets/bolts showing here
• here the sticky side is on top of the L panel. This is easier to install, and great if you always carry Maxtrax boards. Otherwise It may be more practical to put the sticky side on the Maxtrax board instead.
8) Maxtrax panel install 1 (if purchased)
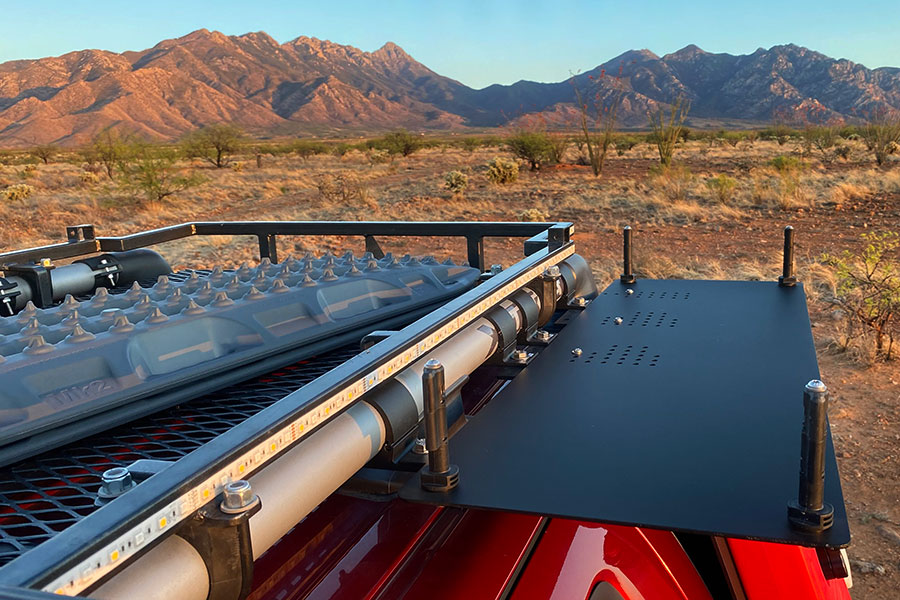
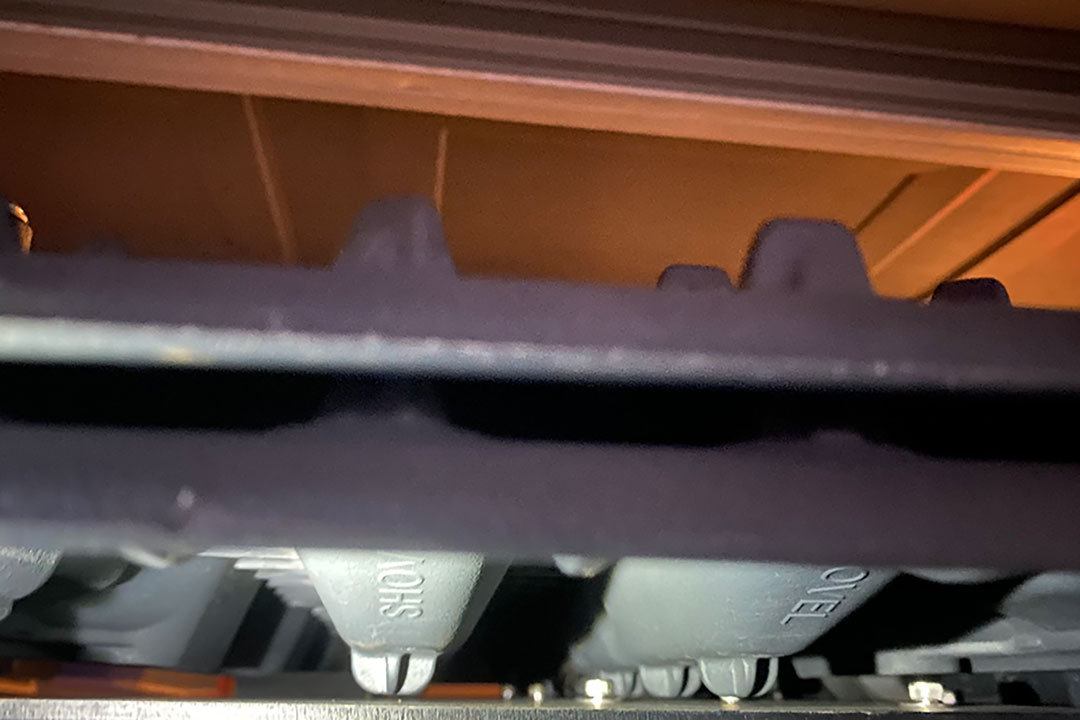
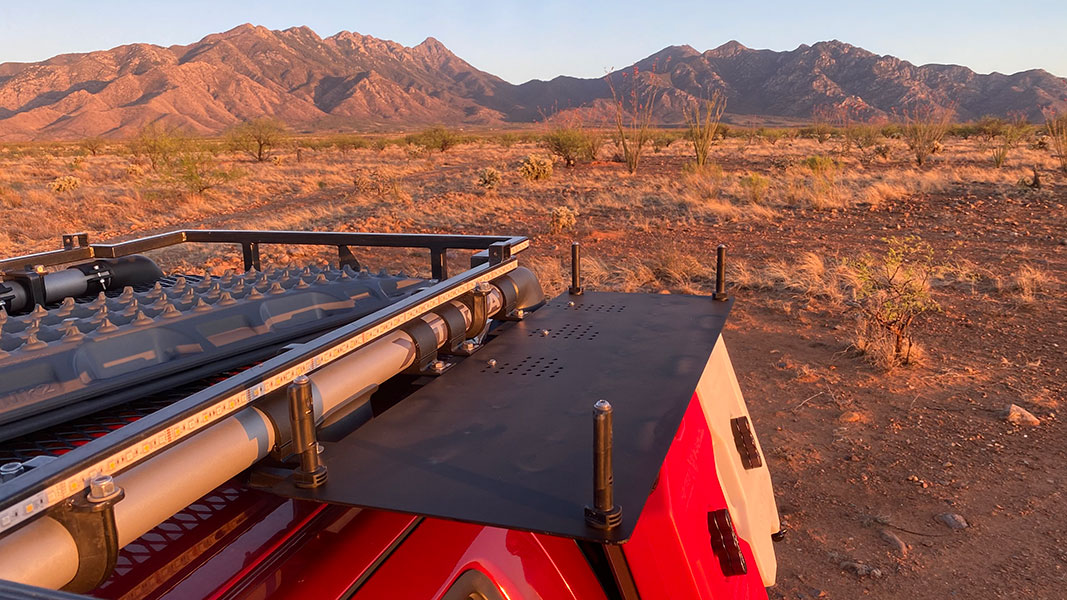
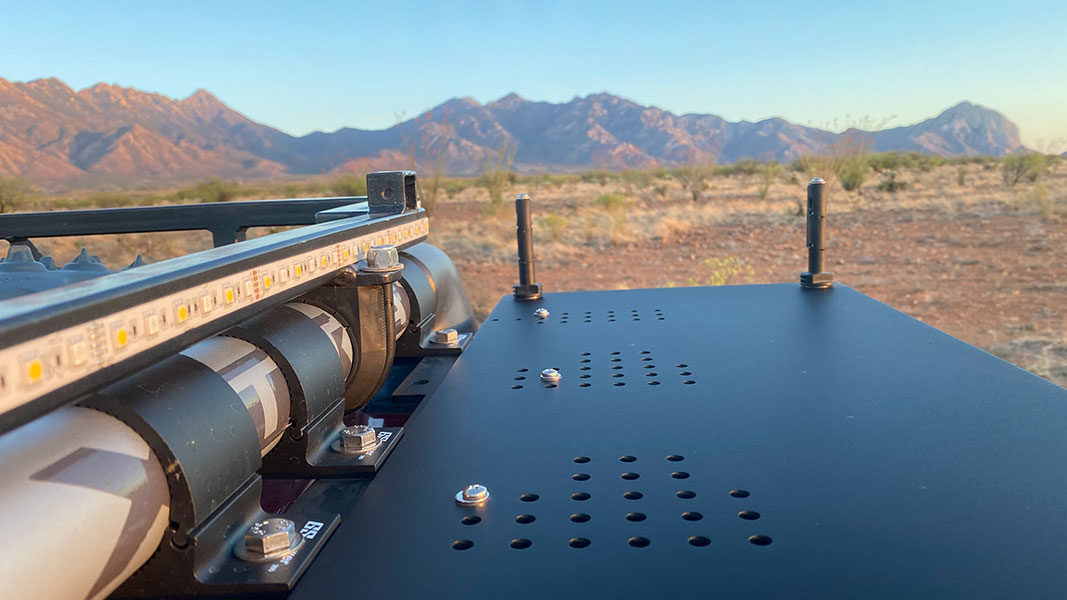
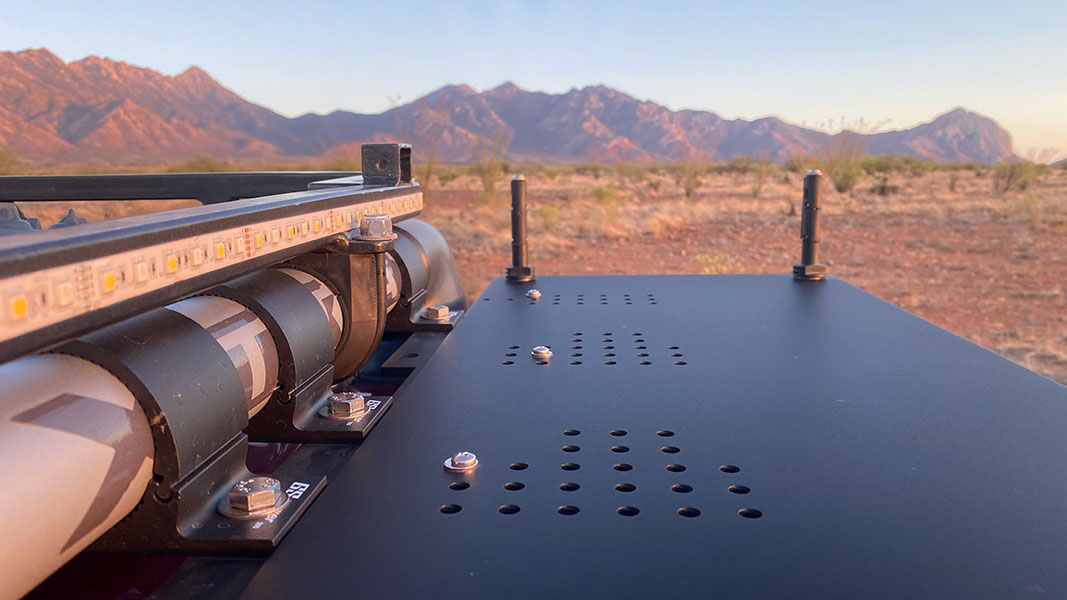
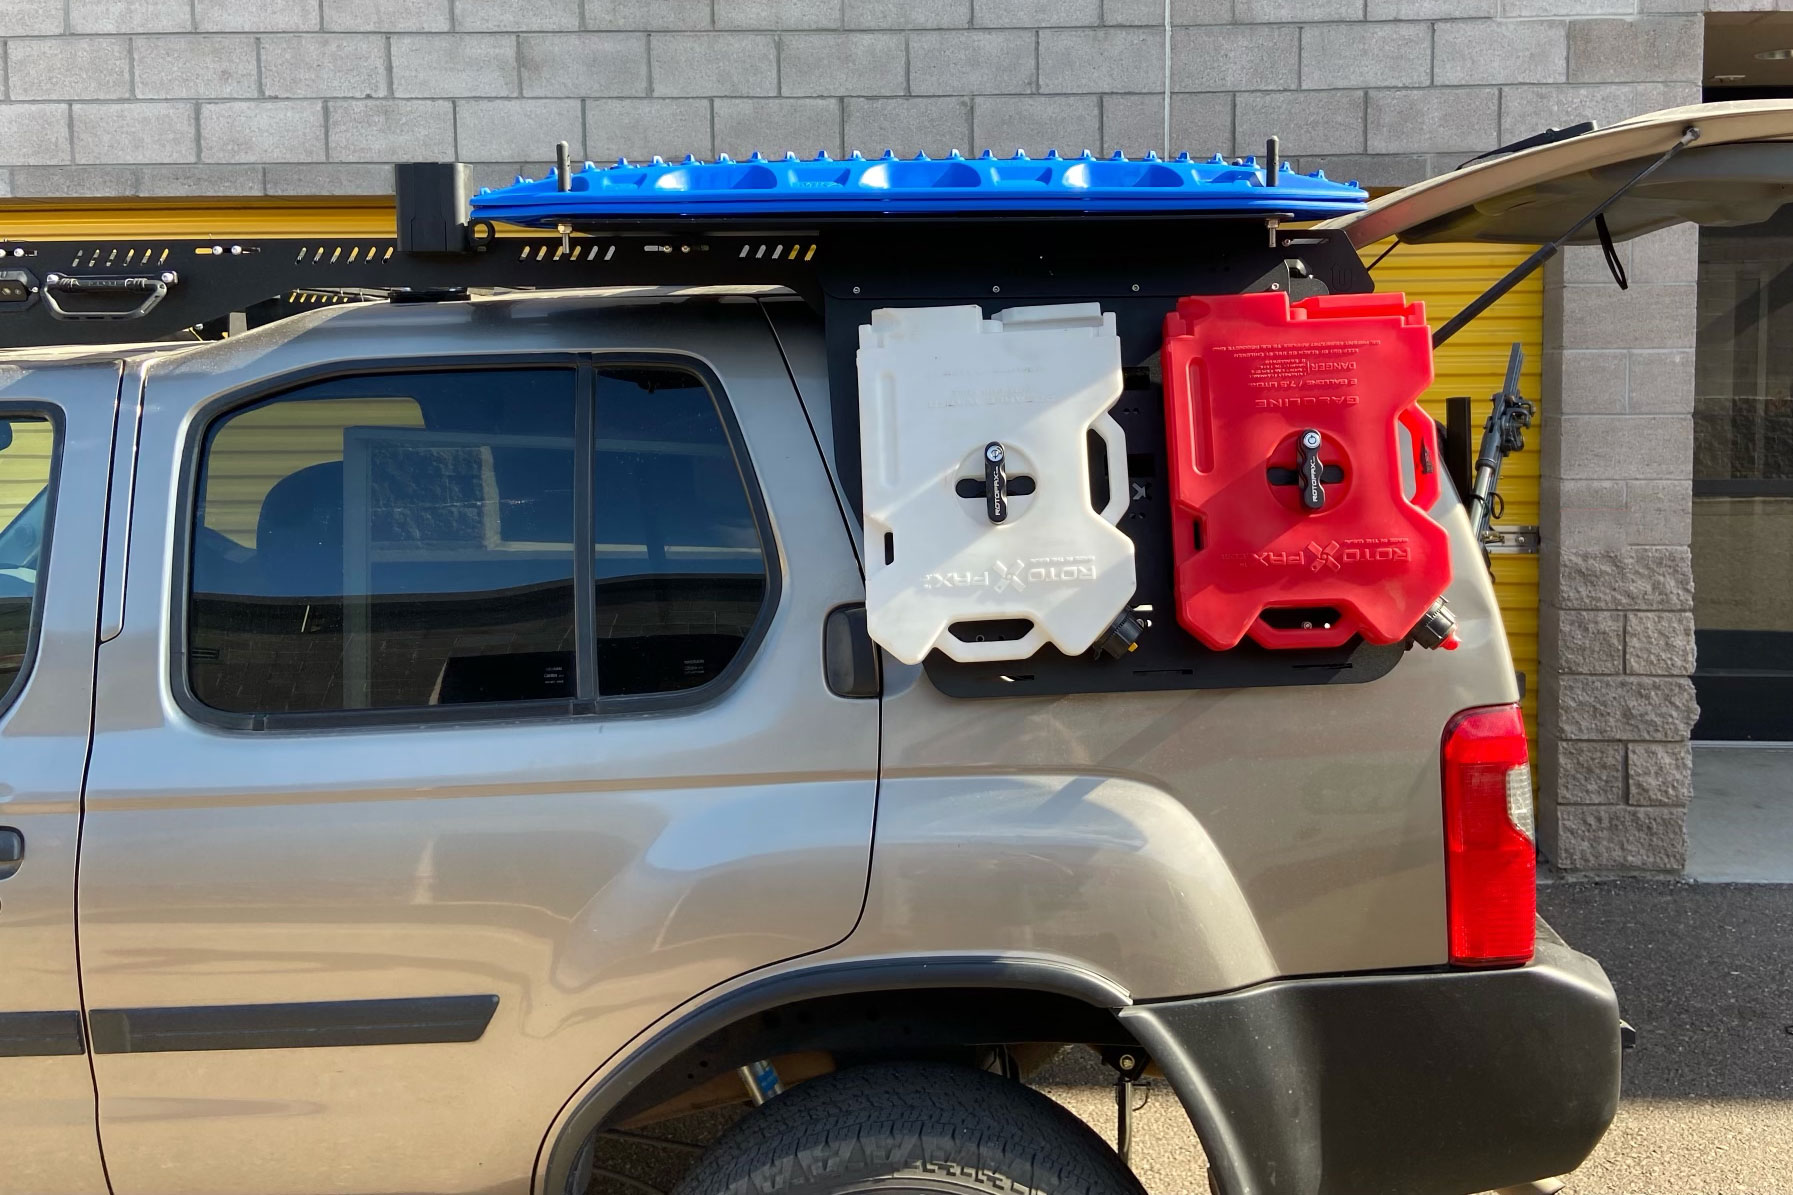
9) Maxtrax install 2
• install the Maxtrax mounting pins first on the panel, while it's off the vehicle
• place round-bars bracket in place -- it is next to the front left Maxtrax pin in the photo. Don't tighten fully yet.
• then place the Maxtrax panel on top of the L panel, with padding in between the panels
• use 6+ bolts (here only 3 are used during testing)
• washer should be present under the bolt head; locking nut is on the other side


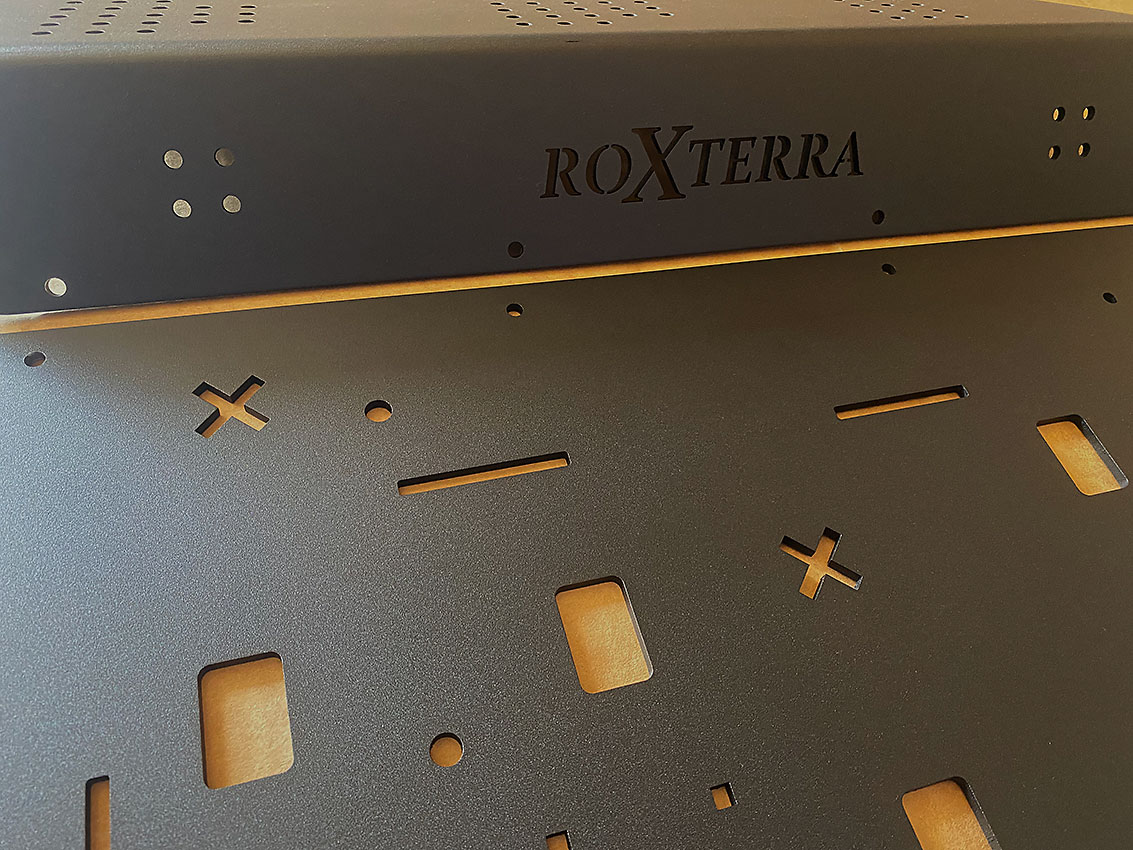
 roXterra