Buy here: roXfinder.com/window Purchase history, shopping cart, favorites and more
on our new website
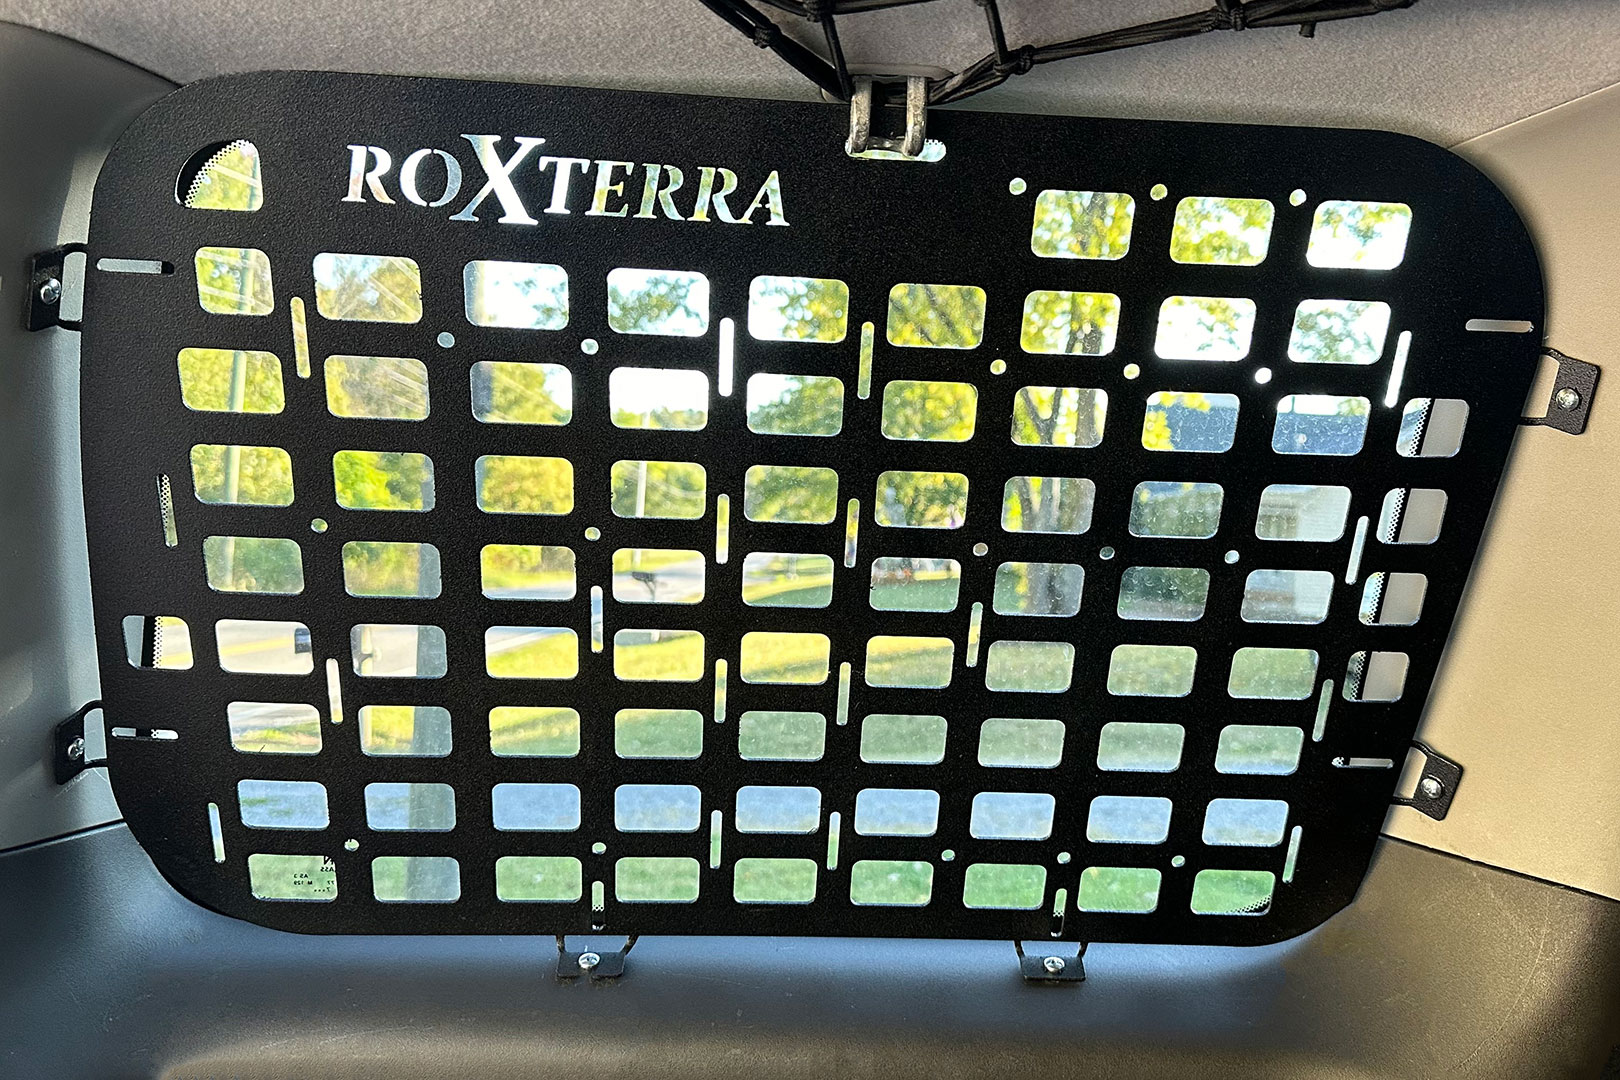
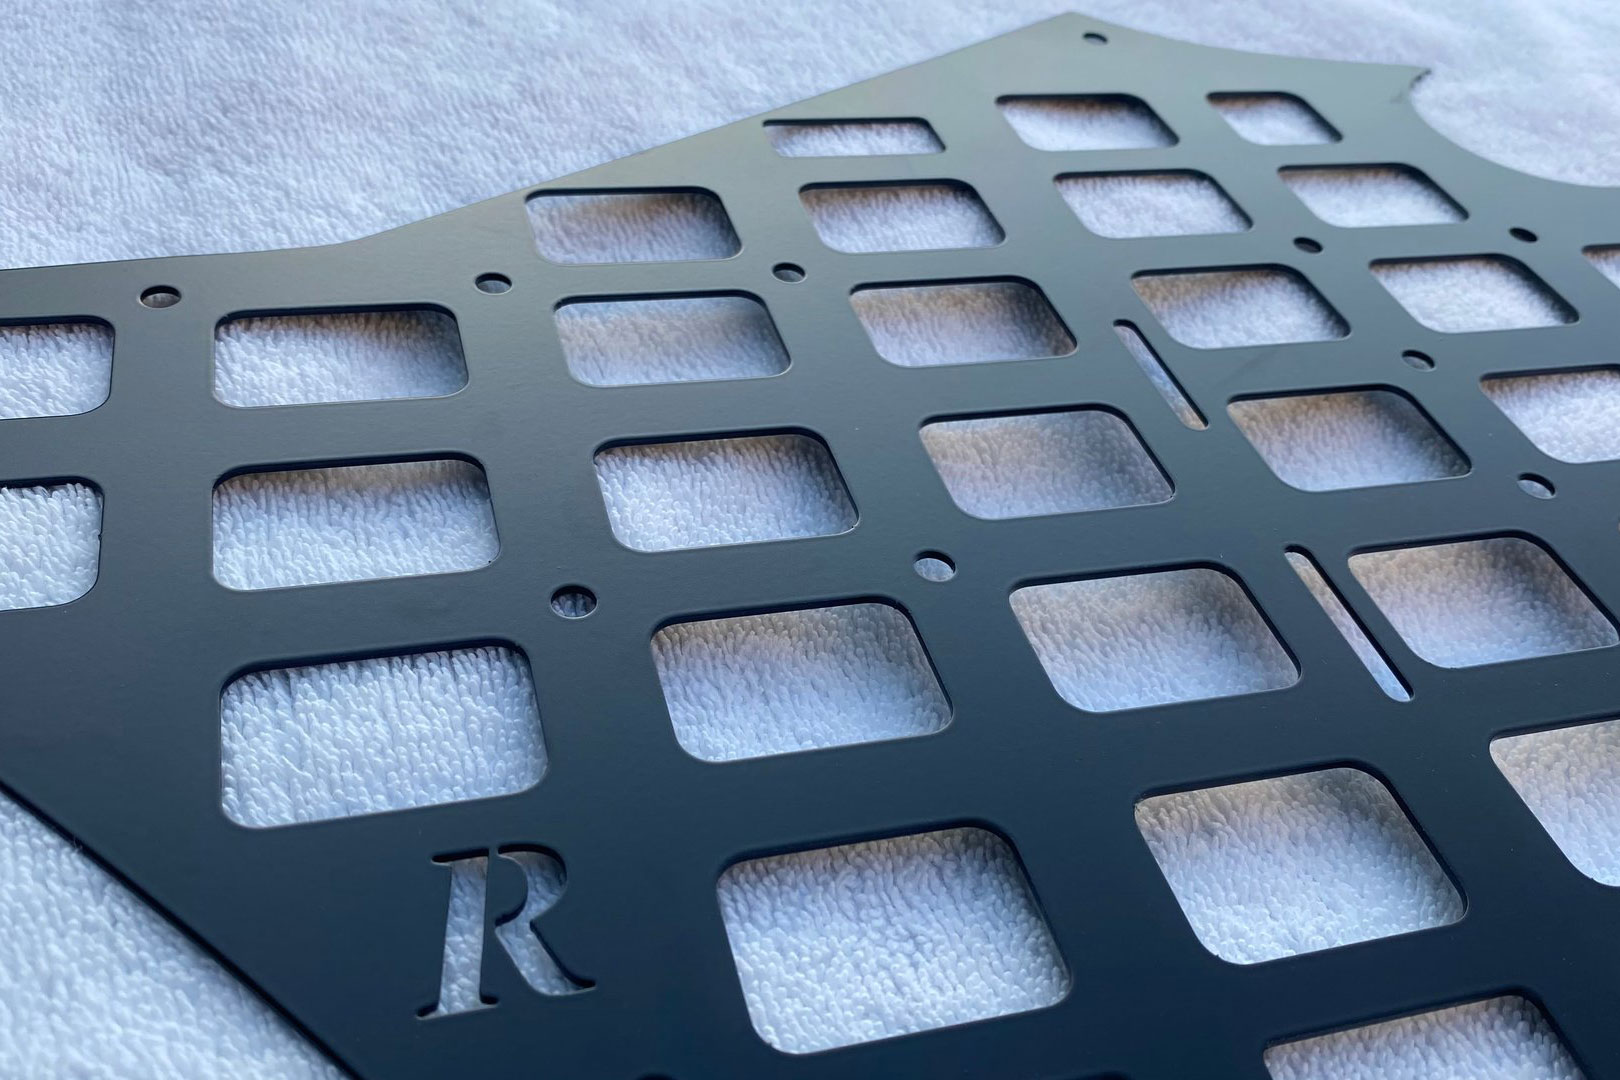
Window Panels
• Install first, ensure fit, then paint if needed and re-attach the bolts; That will minimize the fingerprints on your panel
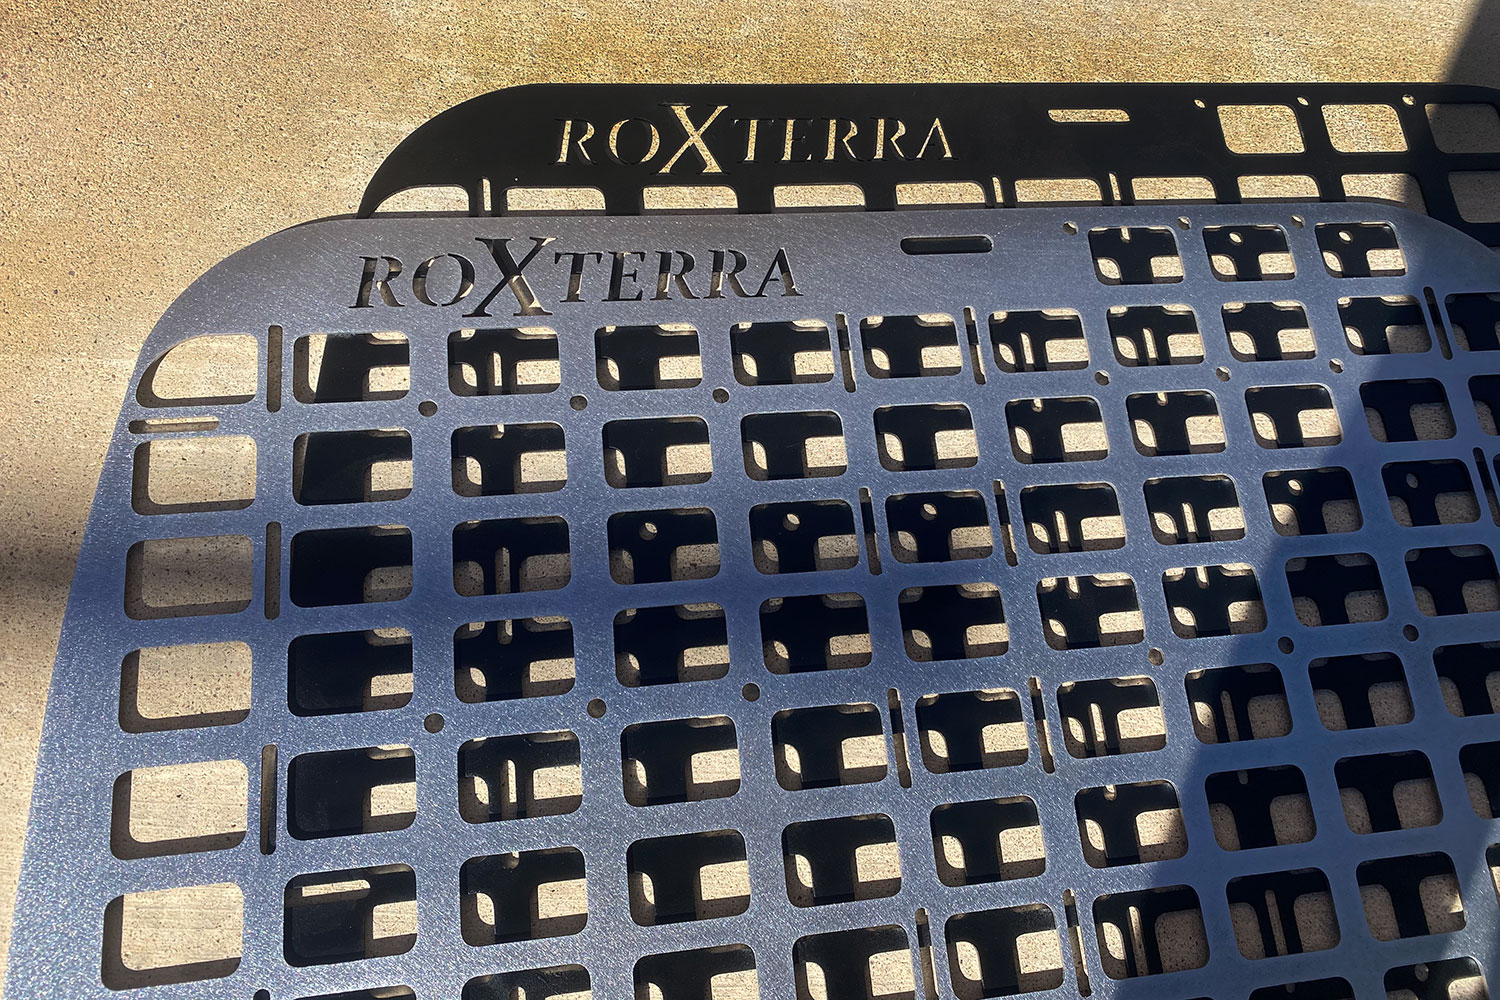
• Paint the panels If you didn't purchase the panels painted or powder coated, it's up to you to paint them
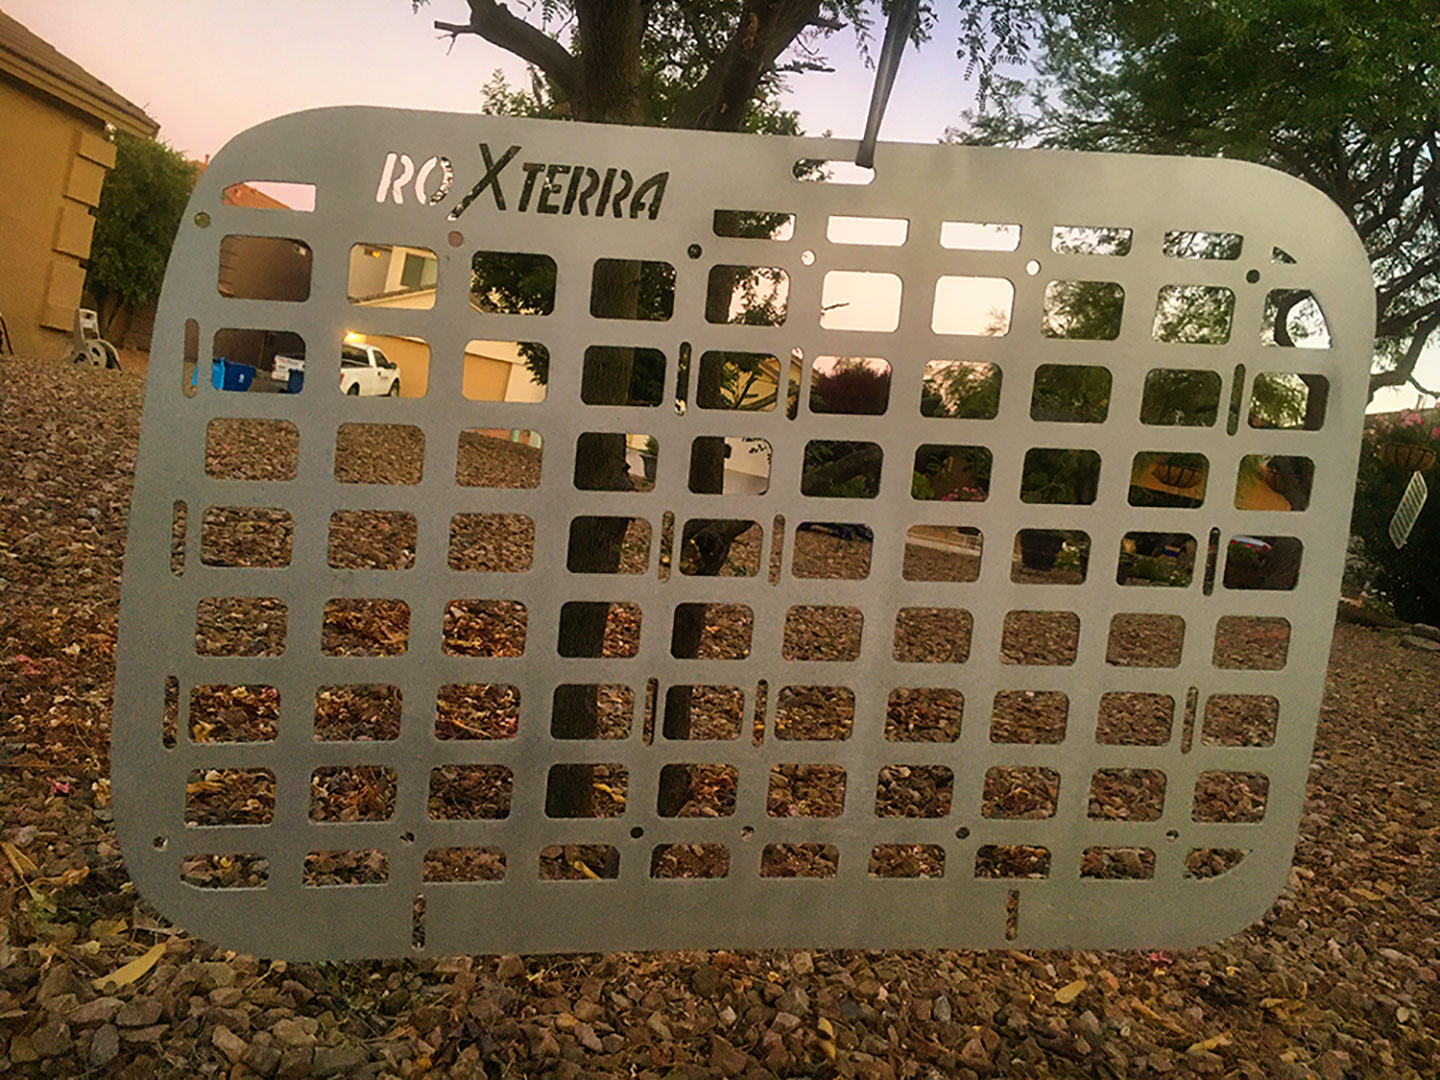
1. Initial fit
• Place the panel in place
• The bottom tabs come angled at 90 degrees
• Bend the other tabs as needed for proper fit with plastic
1. Initial fit
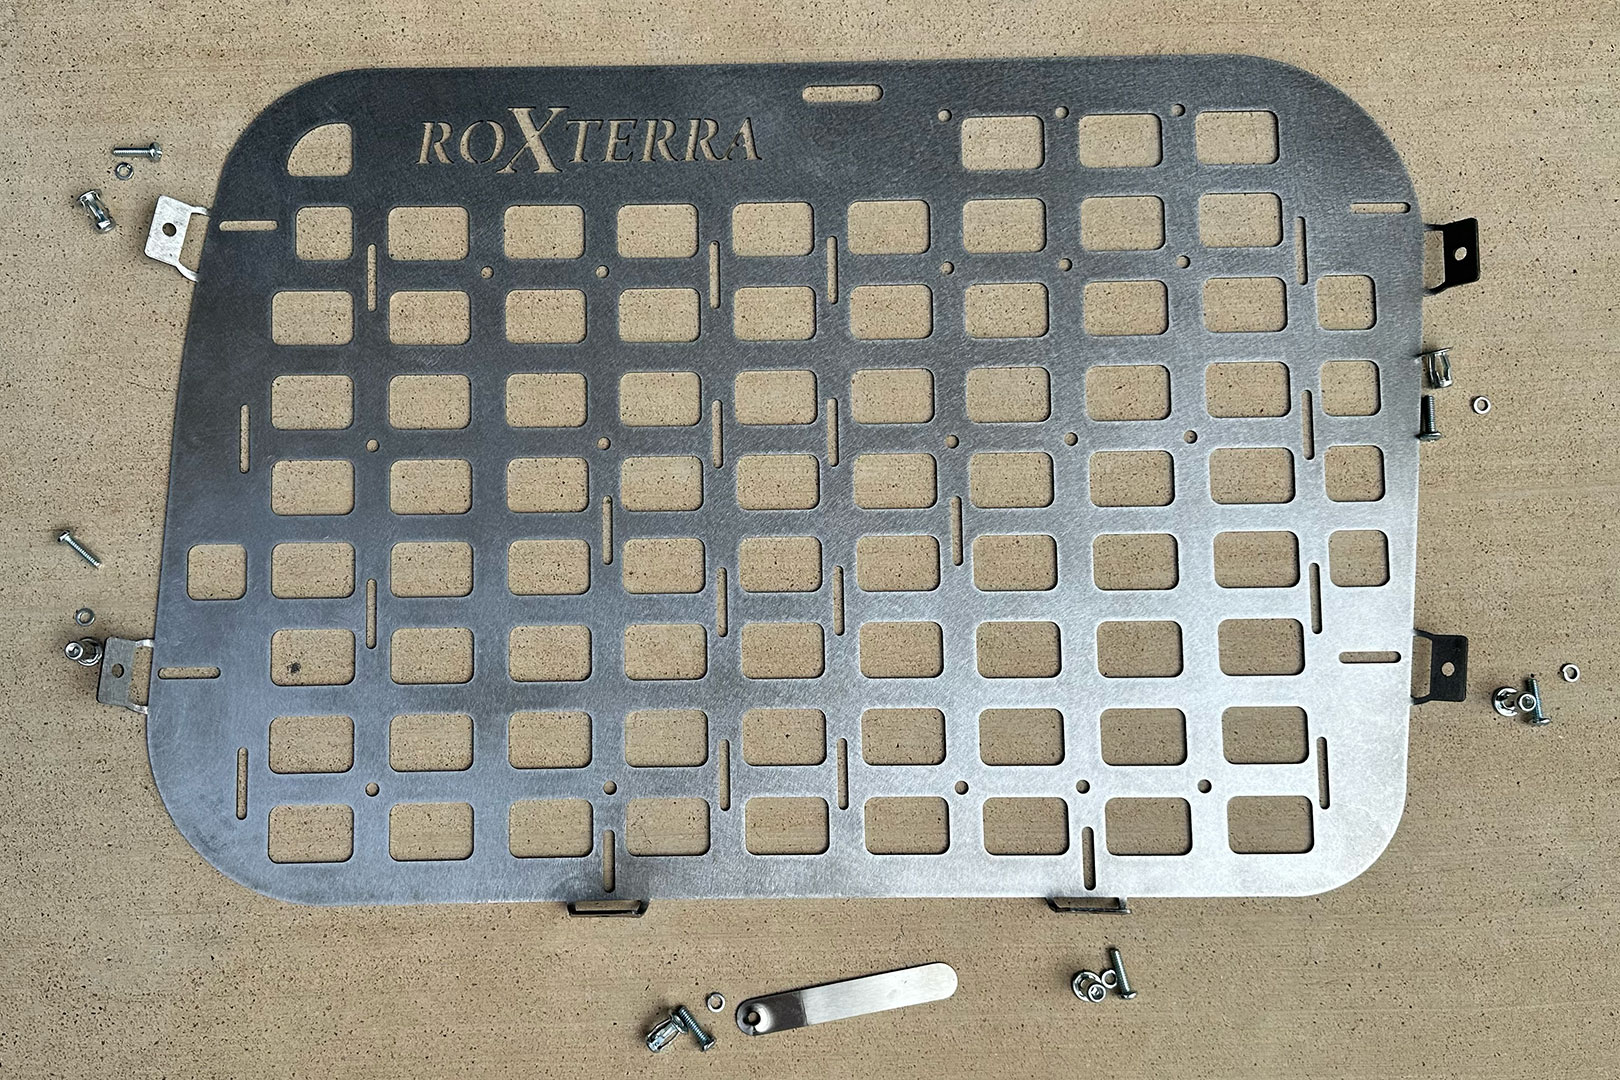
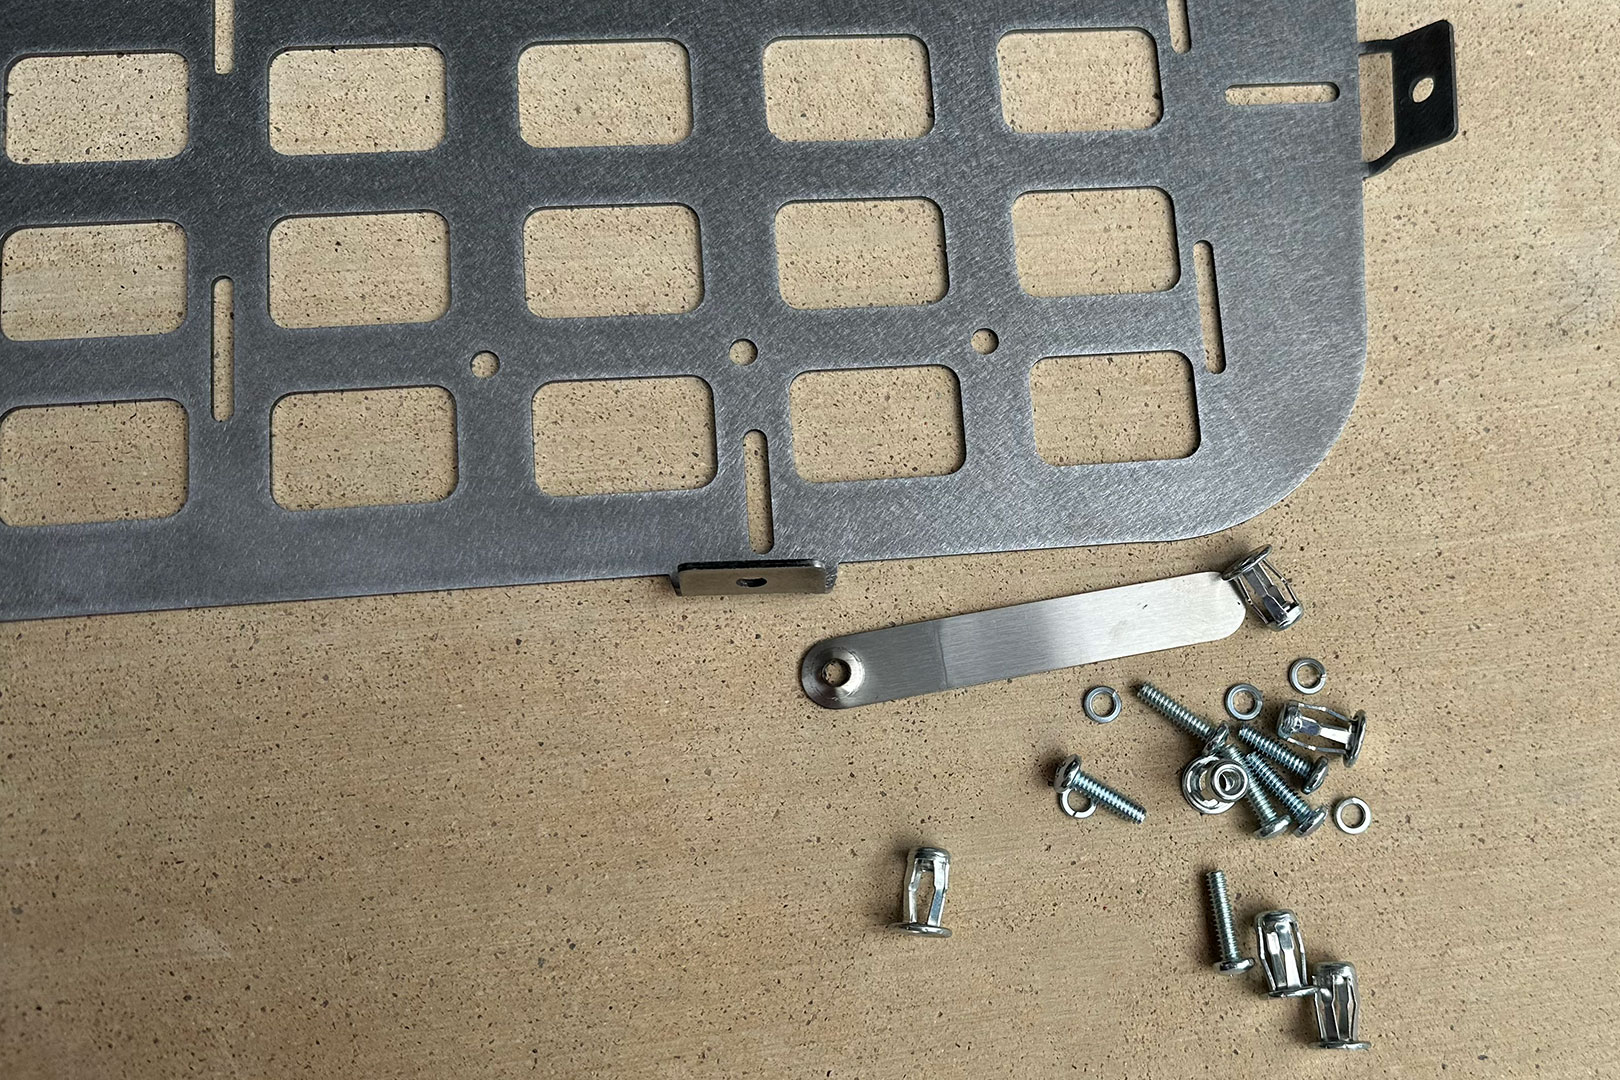
2. Mounting hardware
• Jack nut tool on top, left of the jack nut
• Locking washers, bolts and more jack nuts shown
• These are 3/4 inch long 10-24 bolts
• Jack nuts need a 3/8 inch hole
2. Mounting hardware
3. About 1 inch from glass
• Note the approximately 1 inch distance from glass
3. About 1 inch from glass
4. Mark bottom 2 holes
• Only mark the location of the bottom 2 holes, through the mounting bracket holes
• This way, by installing the panel into bottom first, you can fit the other mounts better
4. Mark bottom 2 holes
5. Drill bits
• Drill with 3 bits
• First with 1/8 inch drill bit -- a small hole
• Second use 1/4 inch drill bit -- medium hole
• Third use 3/8 inch drill bit -- large hole
• By starting with a small hole you can ensure proper hole location
5. Drill bits
6. Jack nut holes
• Shown with 3/8 inch holes
6. Jack nut holes
7. Jack nut showing
• Insert jack nut into the hole
• It should be snug but not hard to insert
7. Jack nut showing
8. Jack nut installing
• ** Photo coming **
• Insert bolt through jack nut tool, then place on top of jack nut
• Using a power tool first, then screw driver, tighten the bolt in jack nut
• The last few turns (after experiencing resistance) will cause the jack nut to compress in length and expand its diameter behind the plastic, forming an anchor in plastic
9. Bottom jack nuts in place
• The jack nuts will look more flat than in photo after being properly installed
• In the photo the jack nuts were loose, prior to being installed
9. Bottom jack nuts in place
10. Bolts mounted in jack nuts
• Bolts showing mounted in jack nuts
• For best results use the included locking washers to prevent future loosening
10. Bolts mounted in jack nuts
11. Mounted with jack nuts
• Mark the remaining holes through the mounting tabs
• Remove the panel, drill all holes, and install all jack nuts in place
• Install bolts through the mounting tabs
• Use locking washers (included) to avoid future loosening


 roXterra